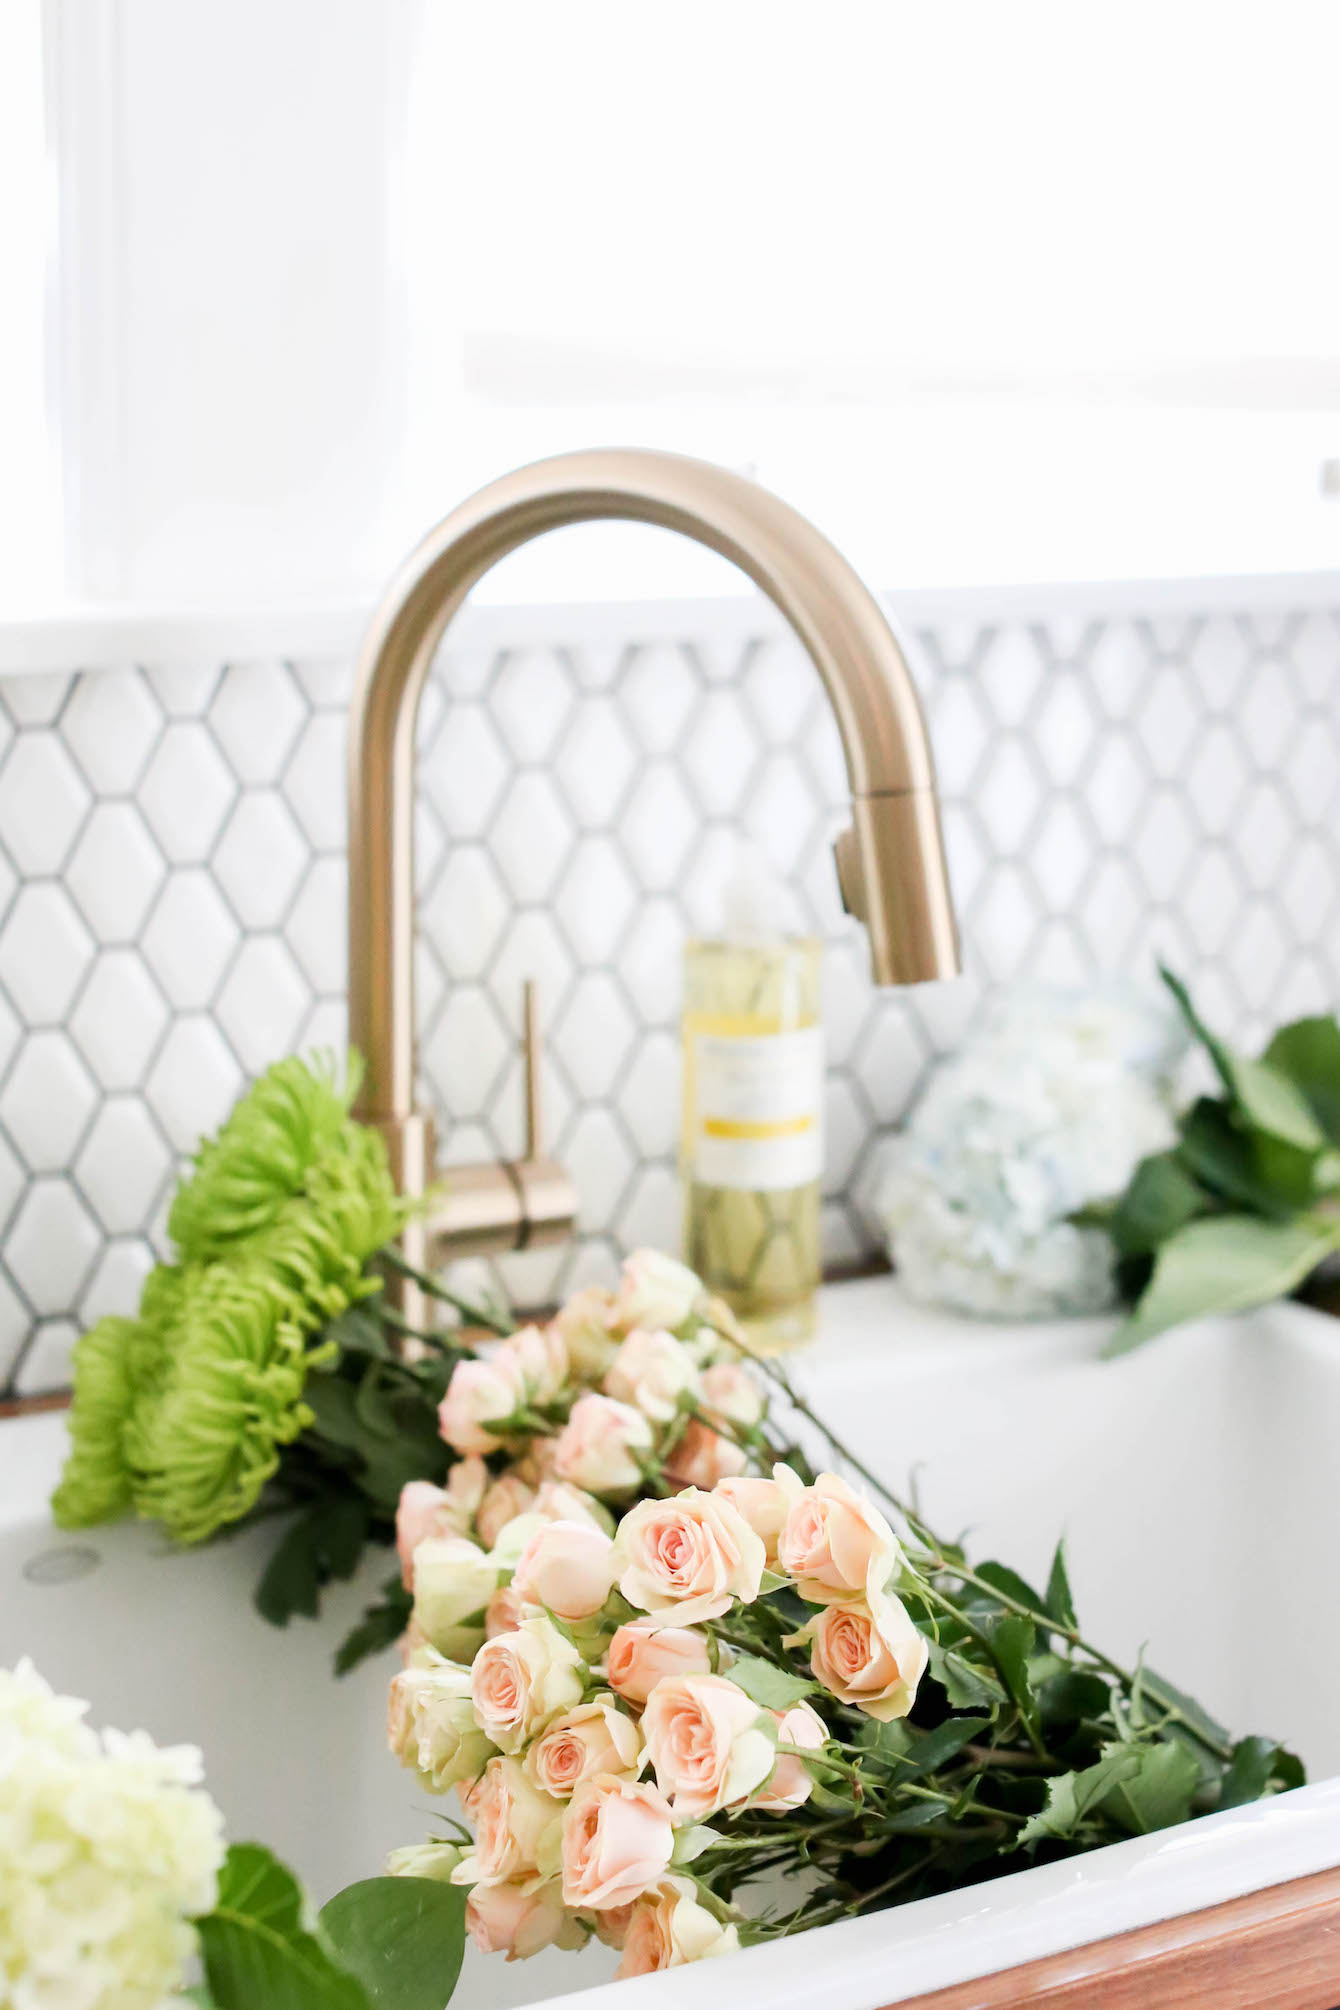
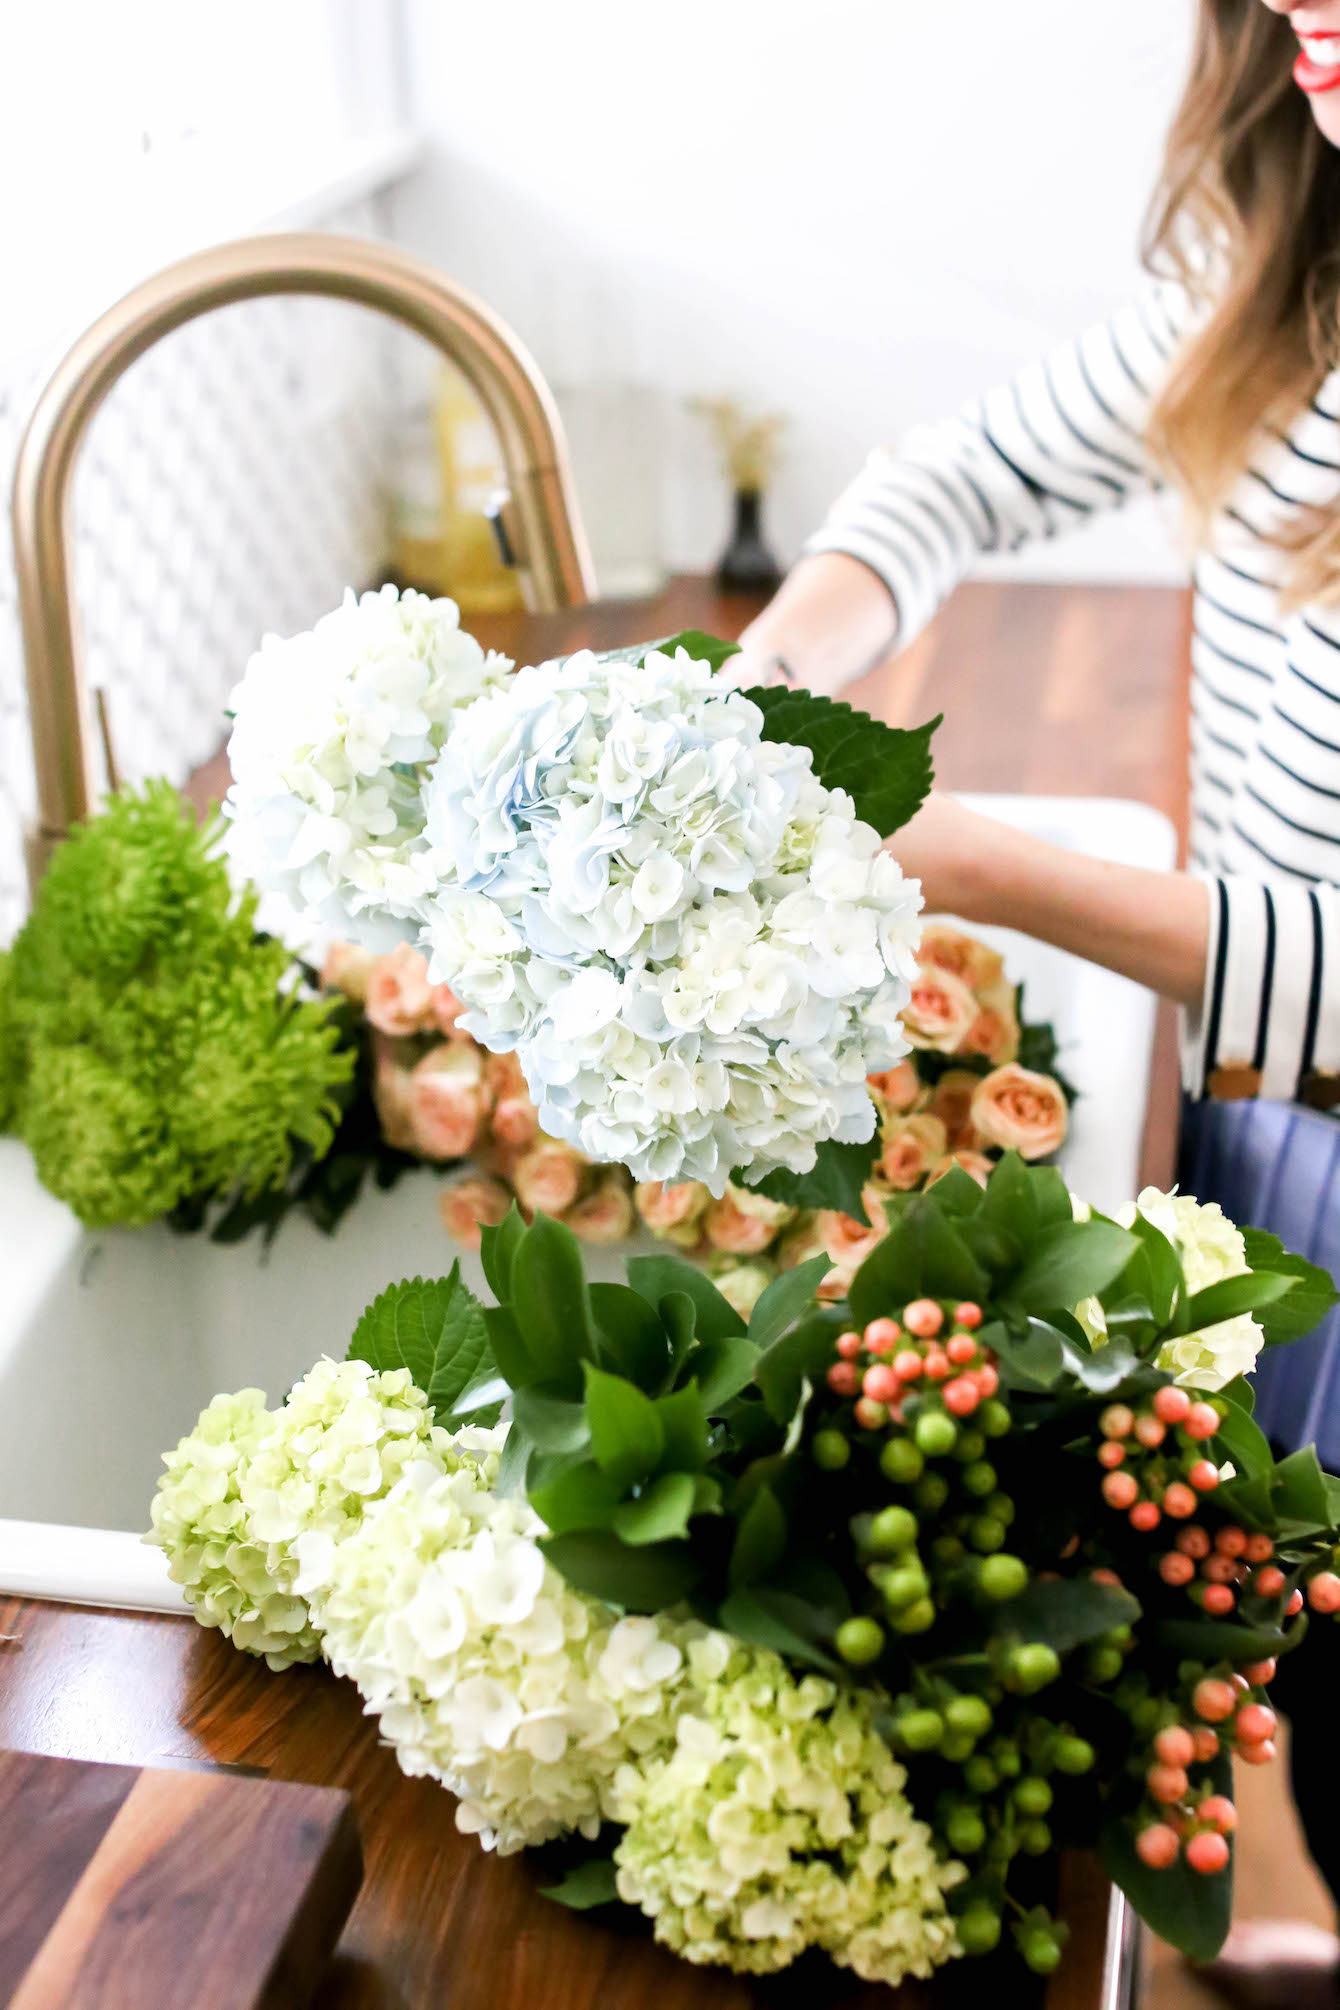
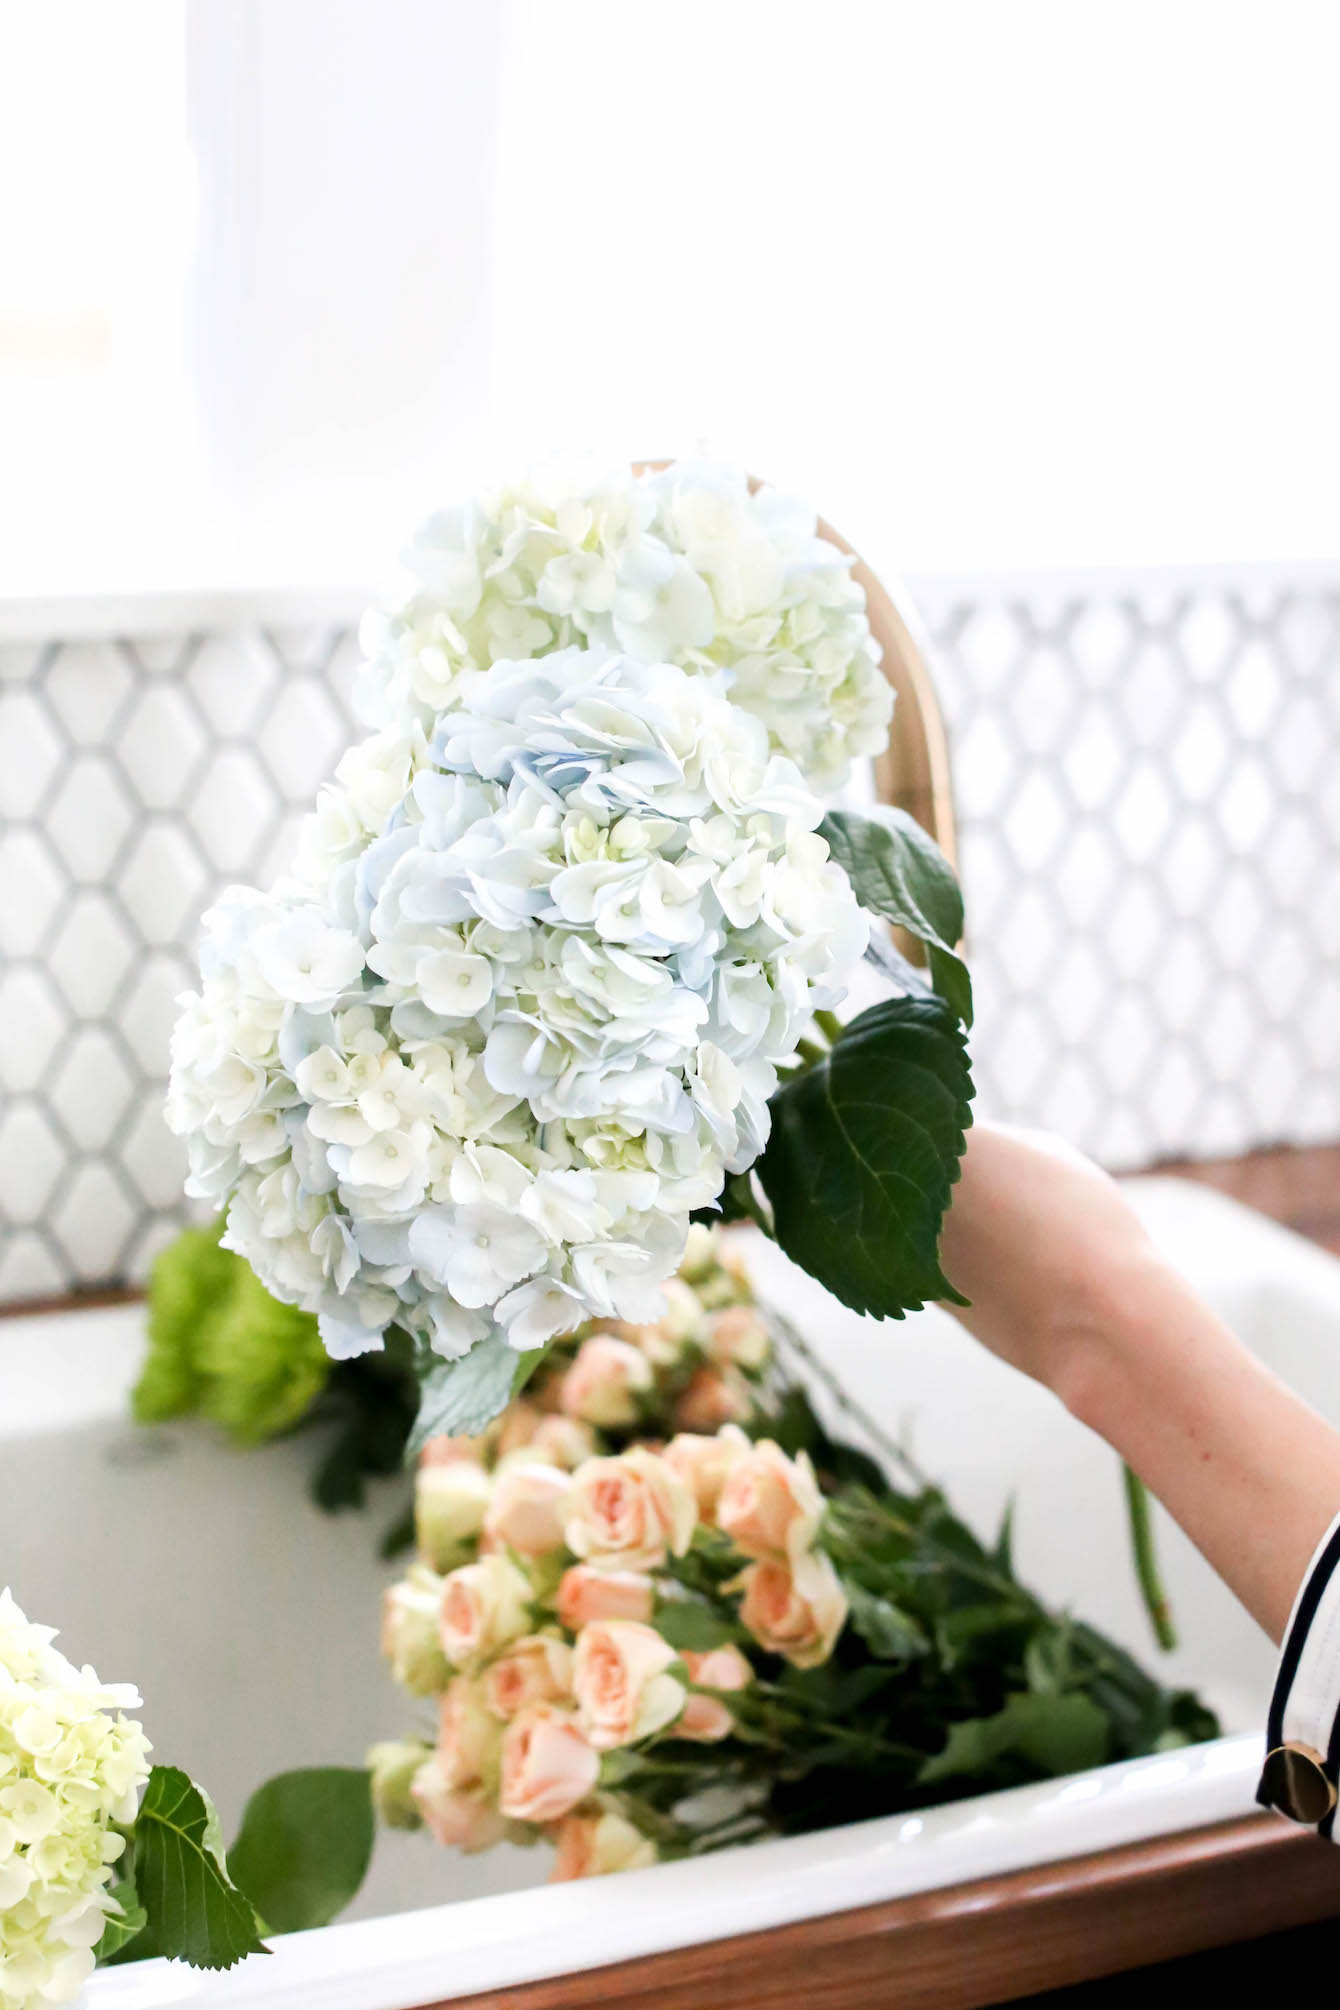
 Flower arranging has been one of those aspirational skills I always wished I had. It seemed so fulfilling to be able to take humble store-bought flowers and turn them into a bouquet that looks like a work of art, but ever time I tried to put something together it usually looked like a child had attempted to chop together a bouquet – not so cute. After so many unsuccessful attempts, I assumed that being a novice florist wasn’t in the cards, and let my dreams of putting together a beautiful bouquet die {like most of the flowers I ever had in my home…}
But a few weeks ago I attended a flower arranging class with Alice’s Table and my friend Megan of Bon Aprontit, and the ladies completely changed my mind about flower arranging – and it turns out it’s not quite as complicated as I made it out to be. I was so nervous that I was going to screw up my bouquet in front of a table of creatives, but it turned out to be so much easier than I expected once I knew all the super secret tips that make florists so good at their job! And honestly, it’s not fair for me to keep all the tips and tricks to myself, so I teamed up with Kira of The Imperfectionist Blog to share what we learned and how we’re putting our newfound flower knowledge to use. 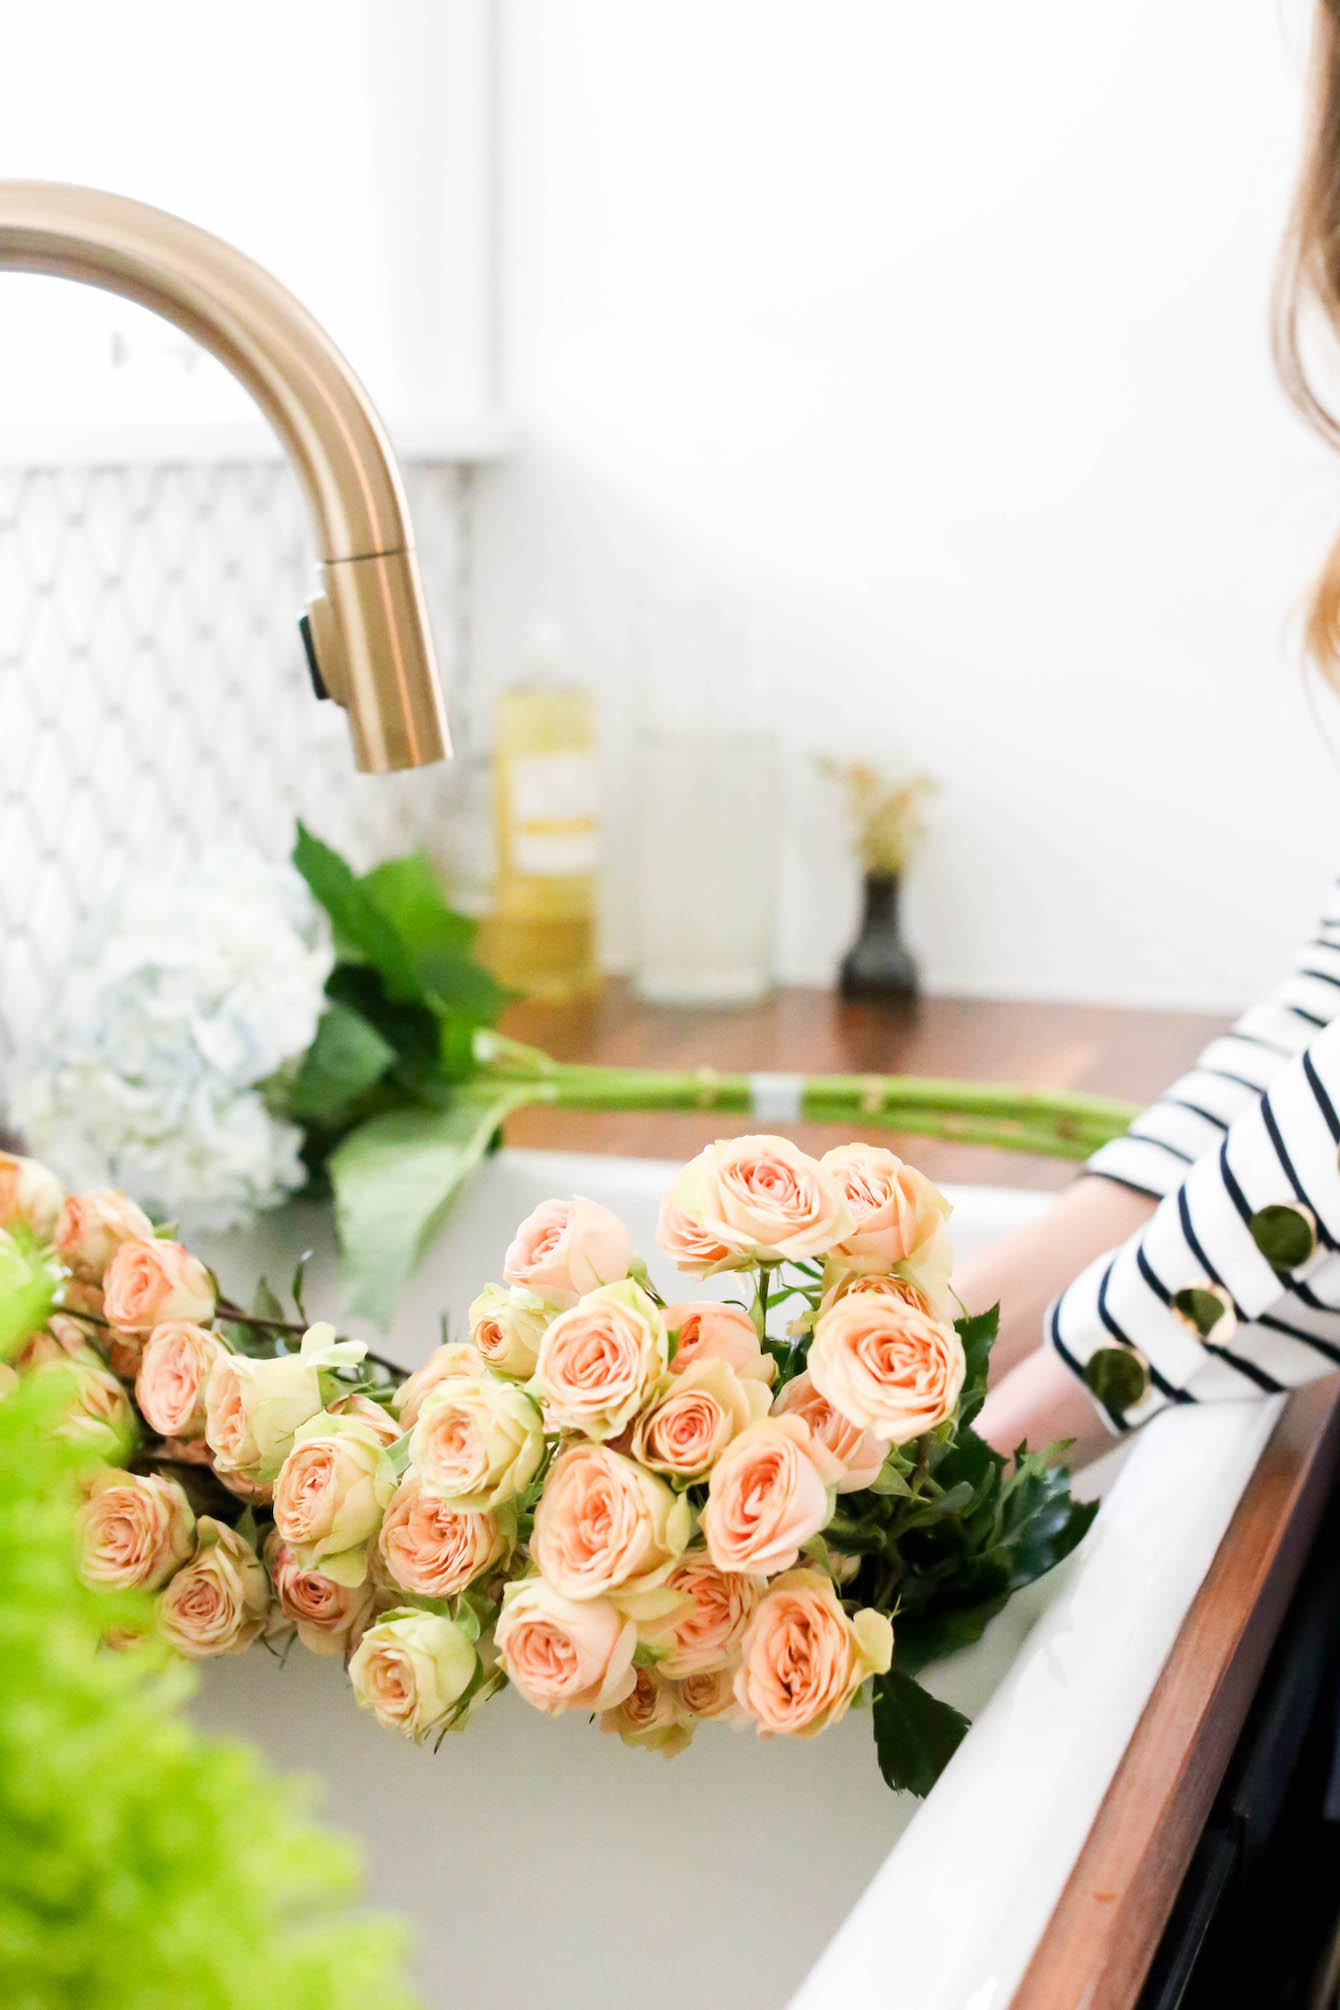 If you’re ready to try to make your own beautiful bouquet, here’s what you’ll need!
• A nice mix of flowers from the grocery story {I personally like going to Mariano’s in Chicago, or Trader Joe’s for the best affordable blooms}
• Small bouquet of greenery to accent your bouquet
• Small bouquet of berries or another similar flower {I like the Hypericum berries that I used below!}
• A circular or cylindrical vase
• Oasis clear floral tape
• Waterproof floral leaf ribbon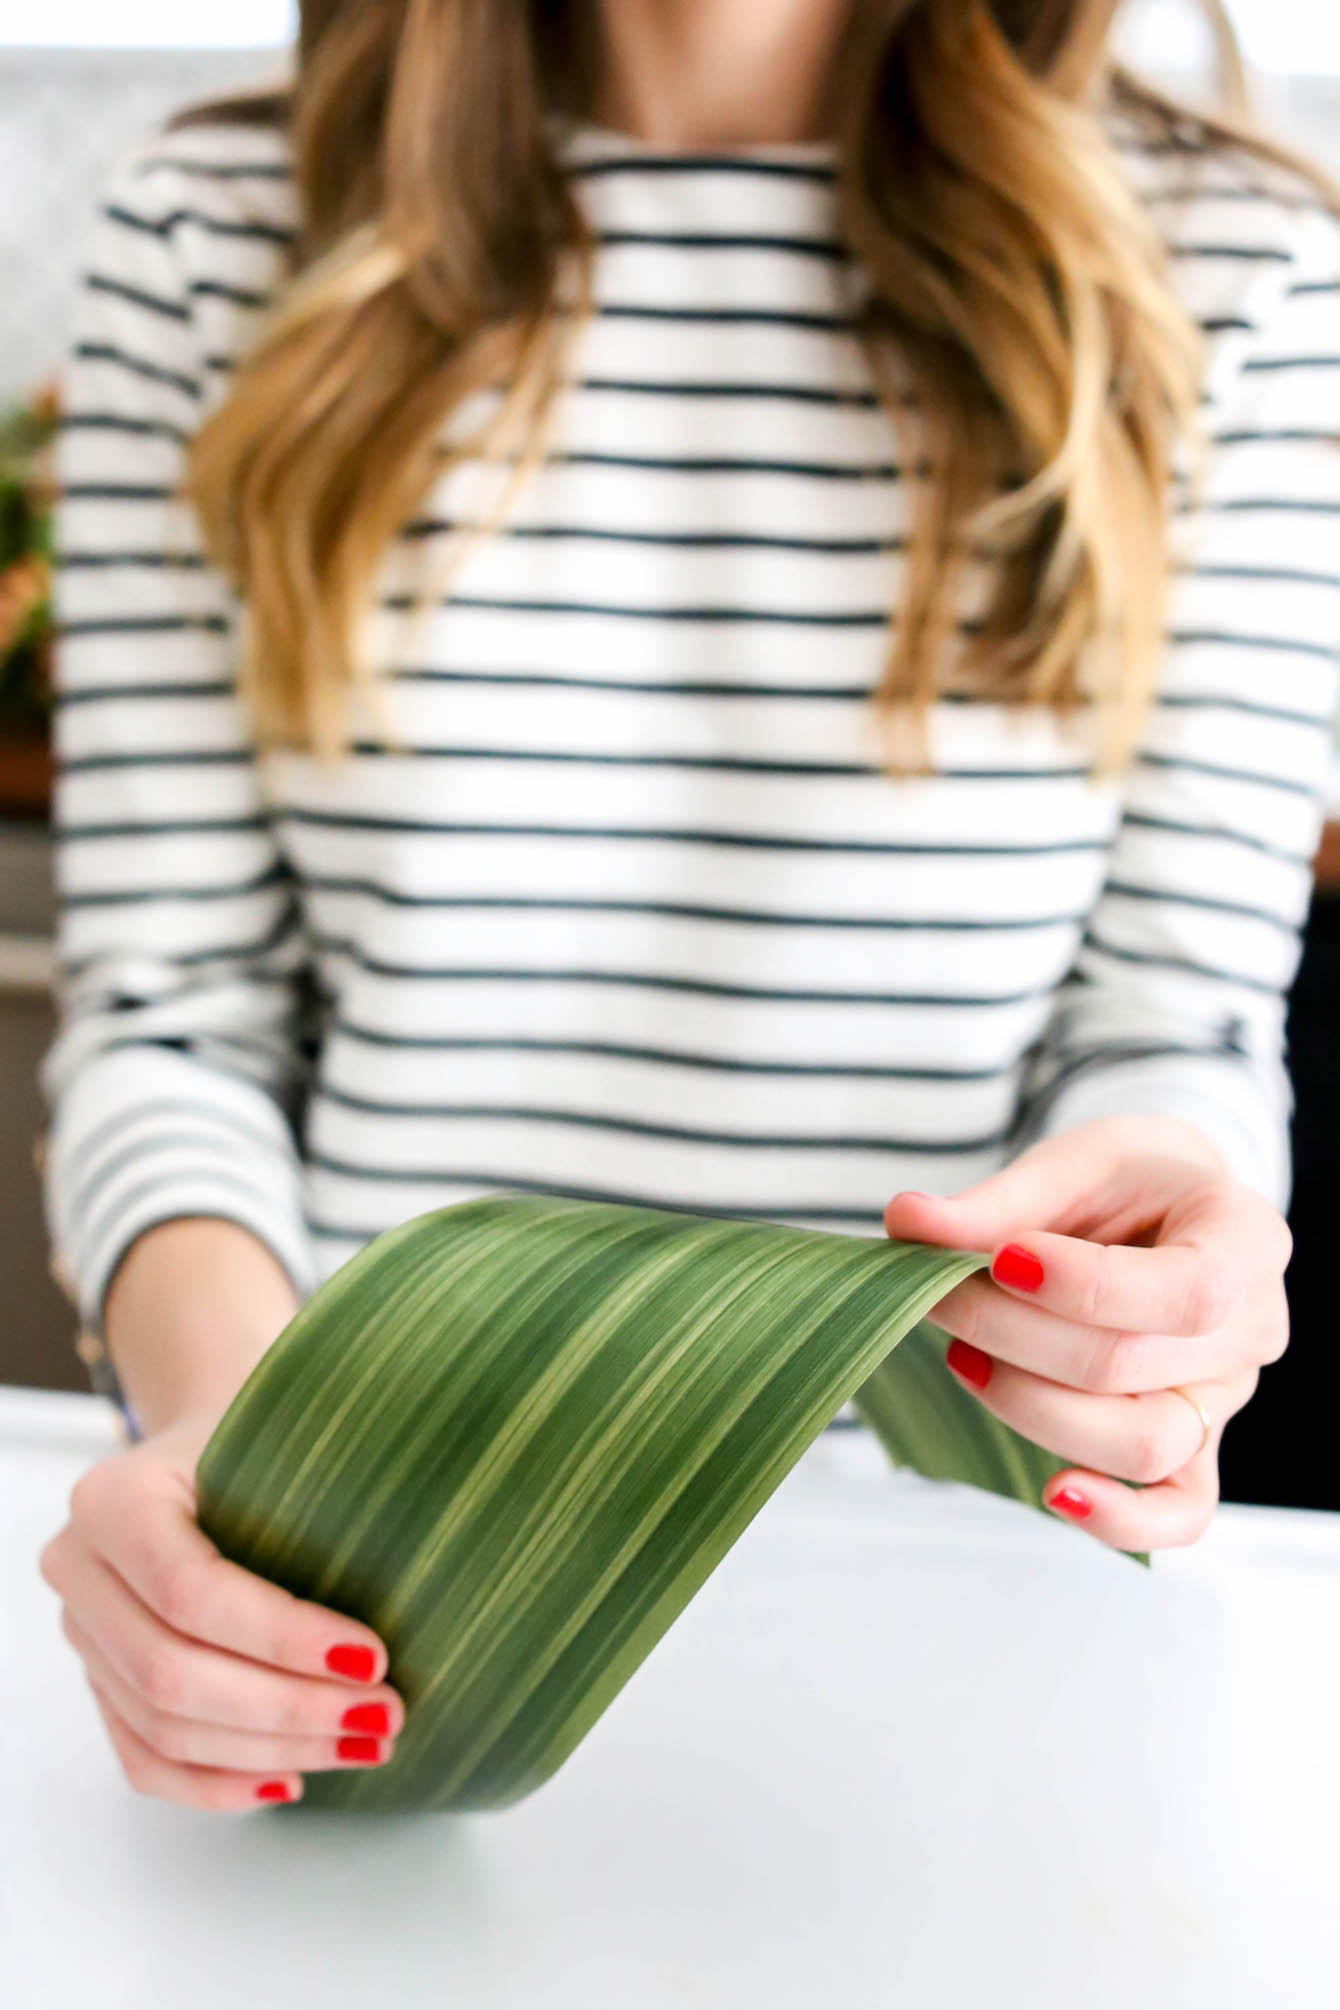 Step 1: Measure a little over the circumference of your vase to cut your leaf ribbon {you need a little extra room so it’s completely covered from 360 degrees}. Once you’ve cut your ribbon, place it on the inside of your vase and fill your vase 1/2 up with water.
 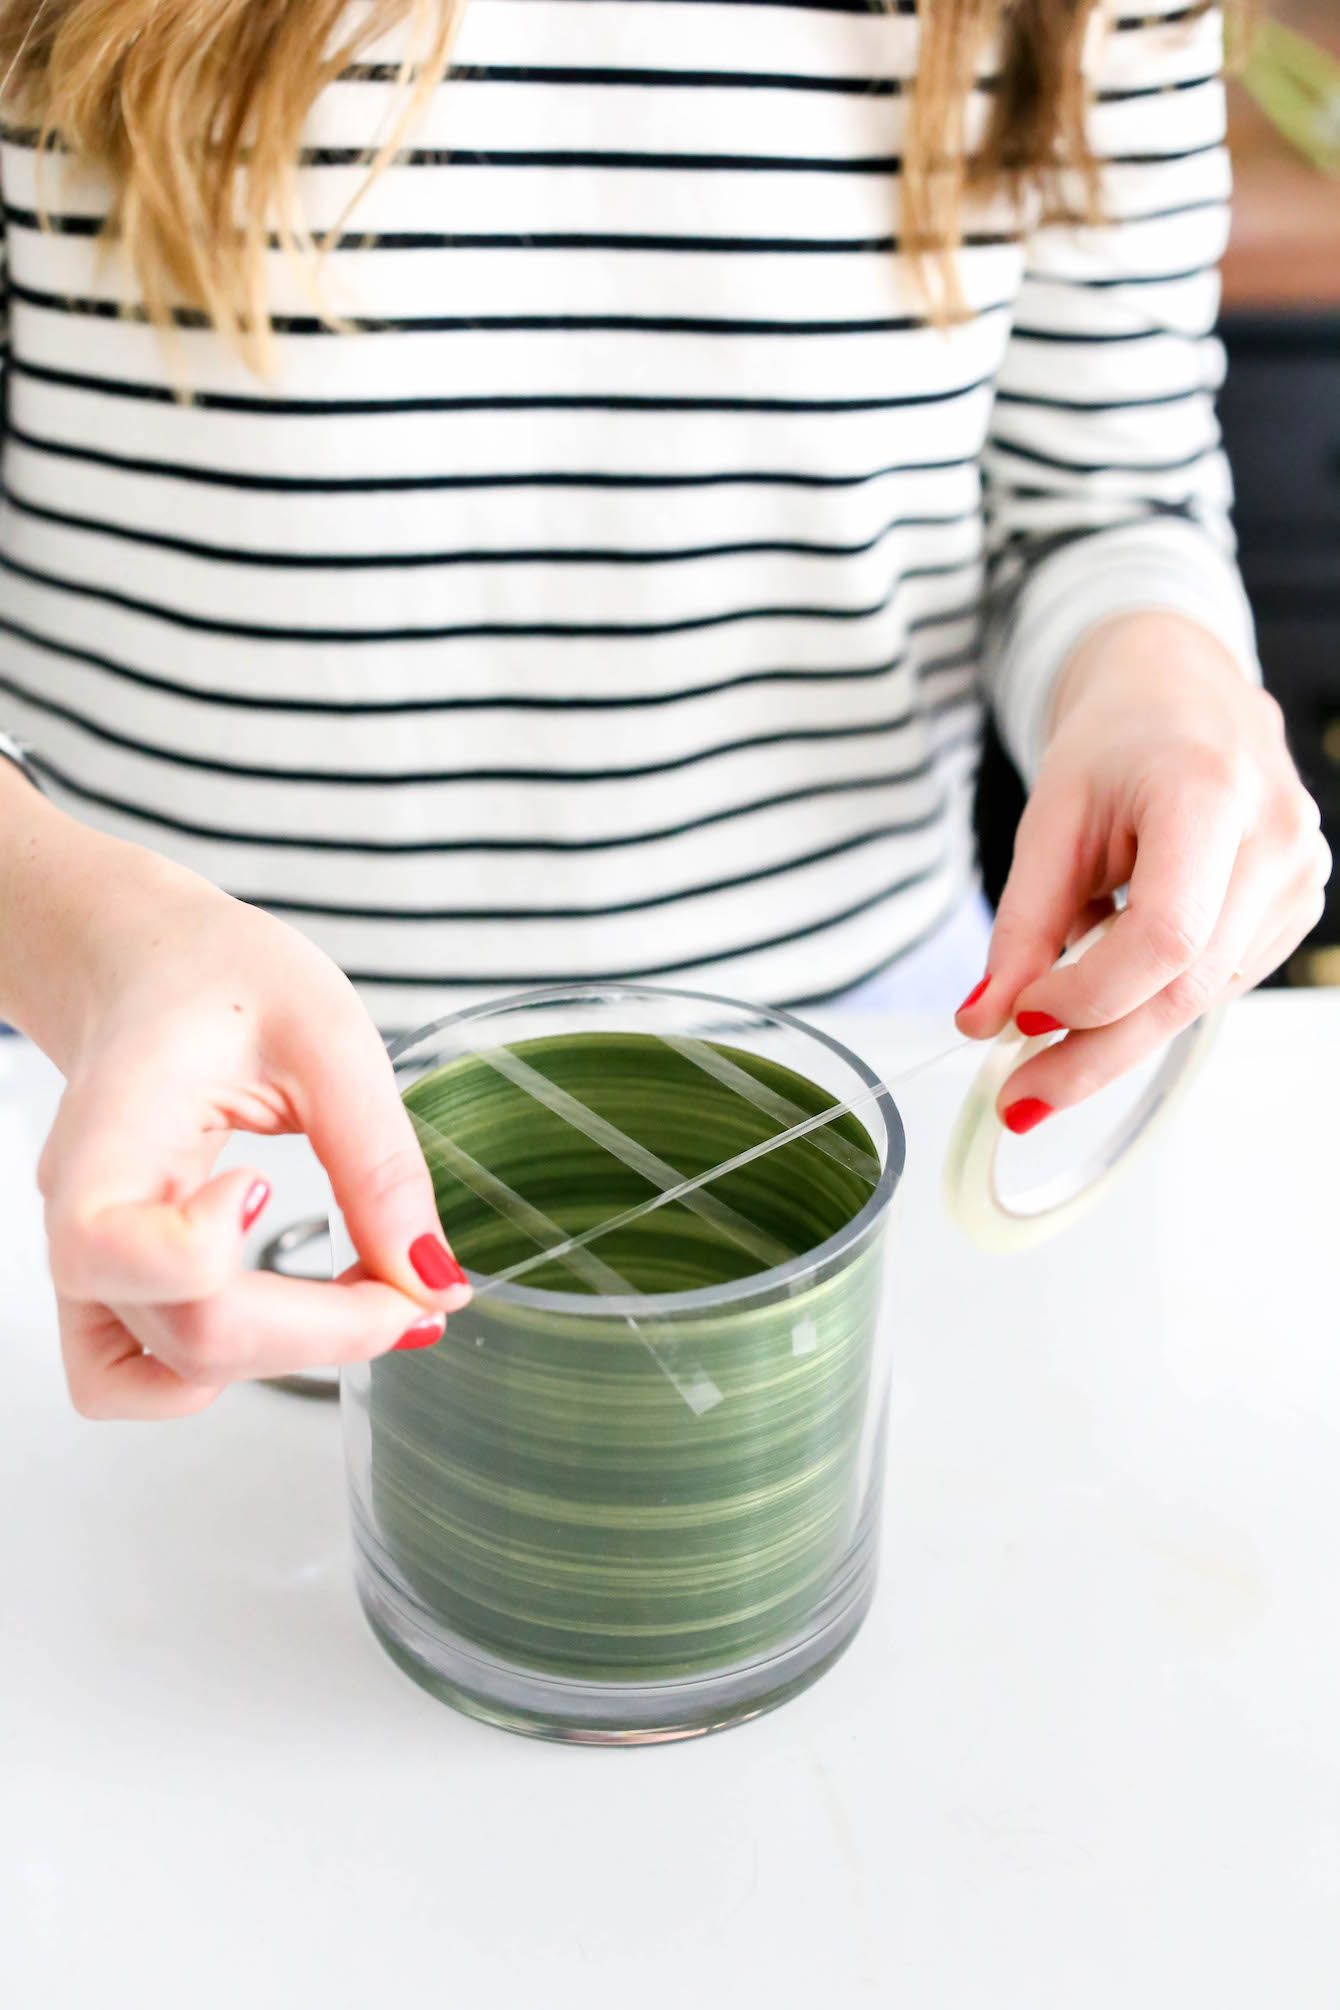 Step 2: Taking your oasis ribbon, make a tick-tack-toe criss cross pattern. This will help when you start putting flowers in your vase to give your bouquet structure while keeping the flowers secure {who knew?!}
 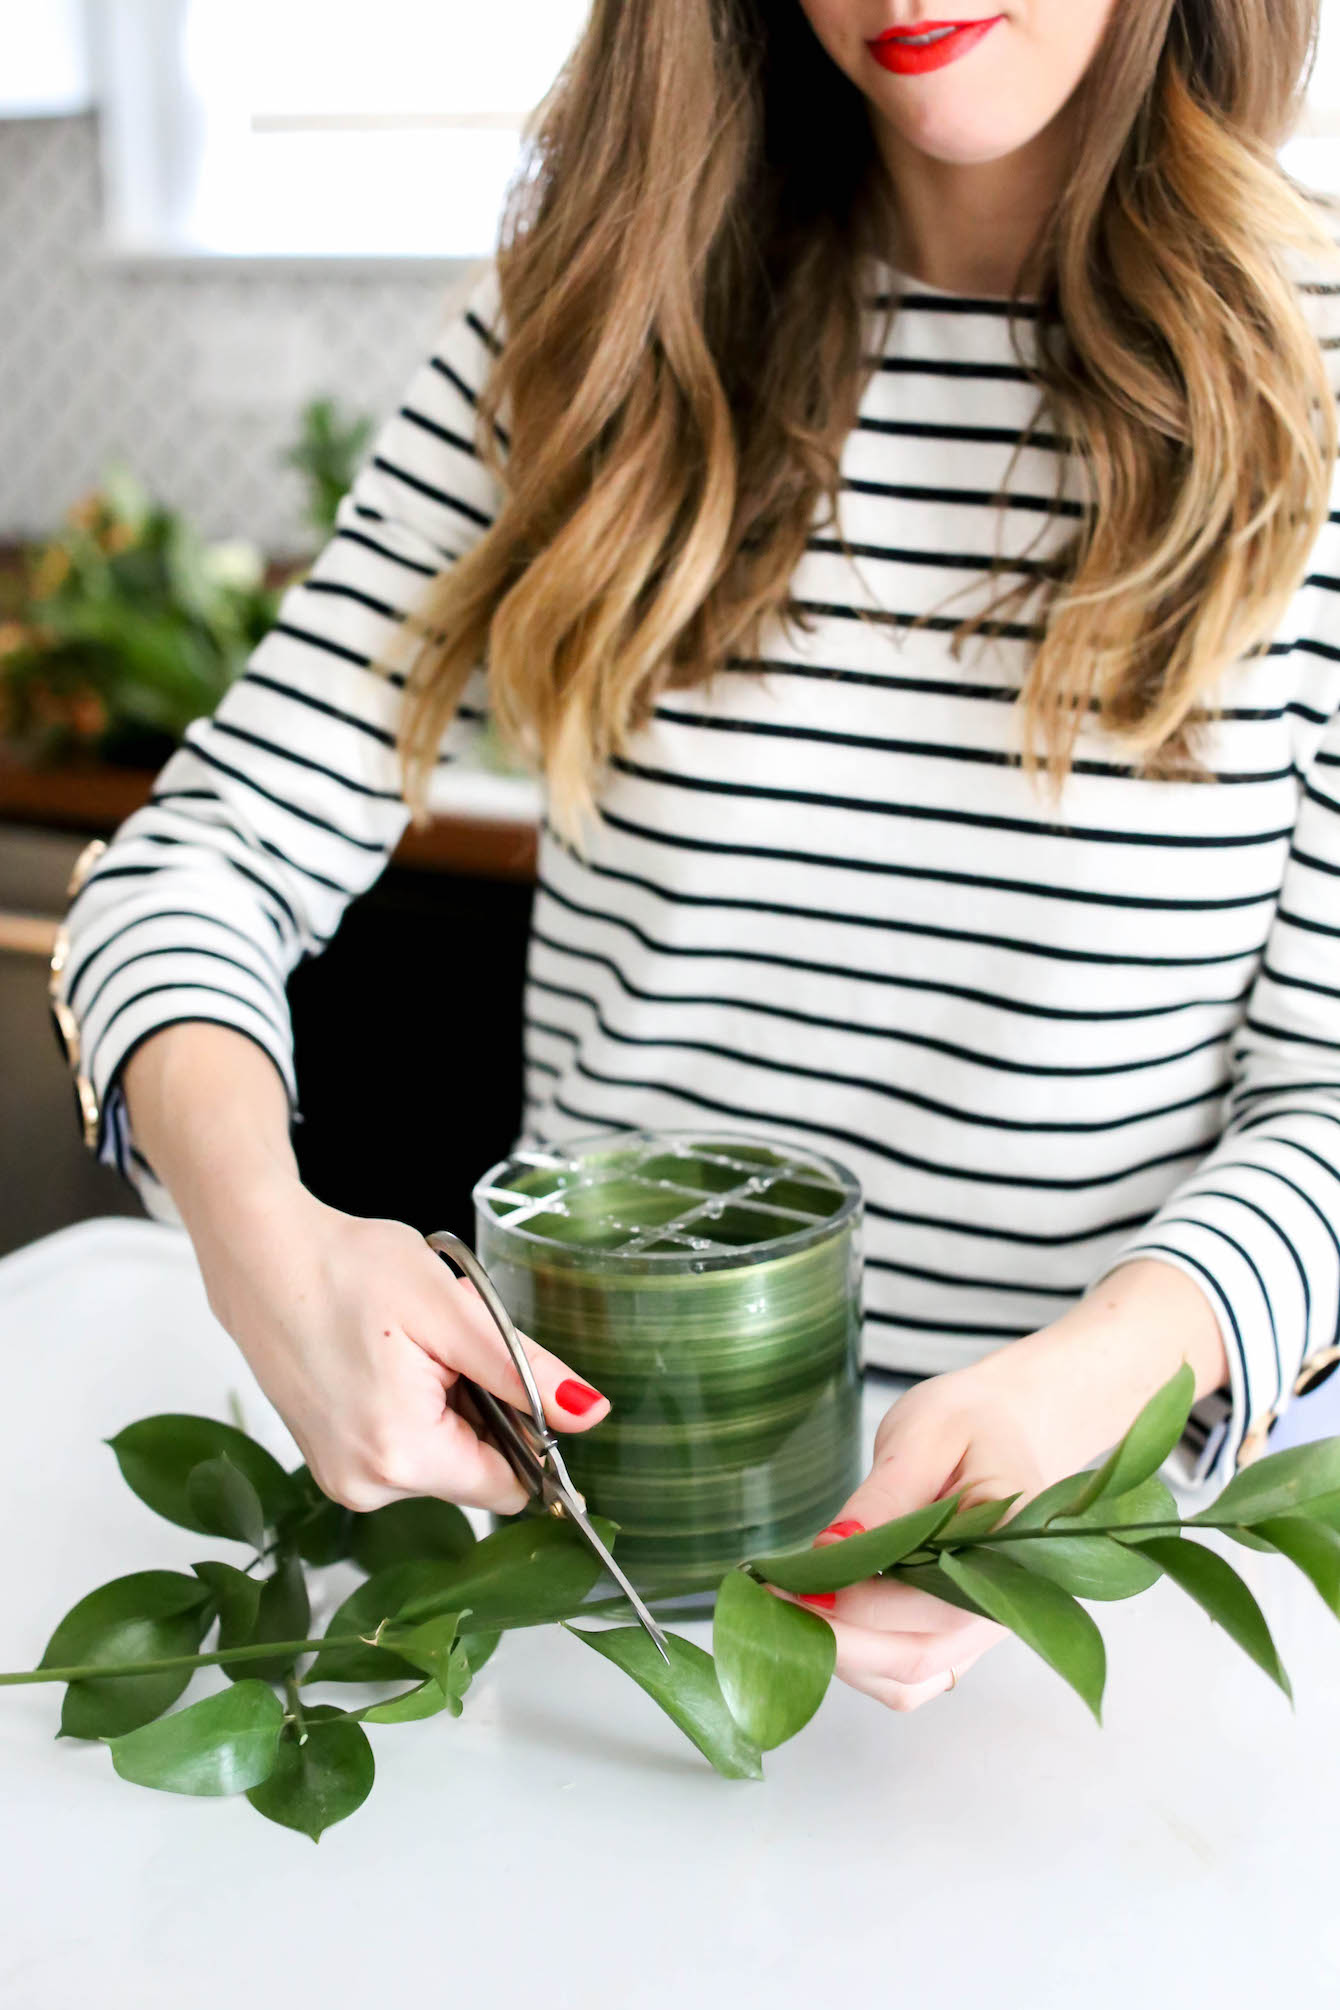 Step 3: Next, pick your greenery and cut the best branches in half on a diagonal so there’s nice leaves on either side. Place either the top or/and the bottom cut sections in each quadrant you’ve created with your oasis tape. Peel off extra leaves that are under water to avoid your flowers and leaves from rotting too soon.
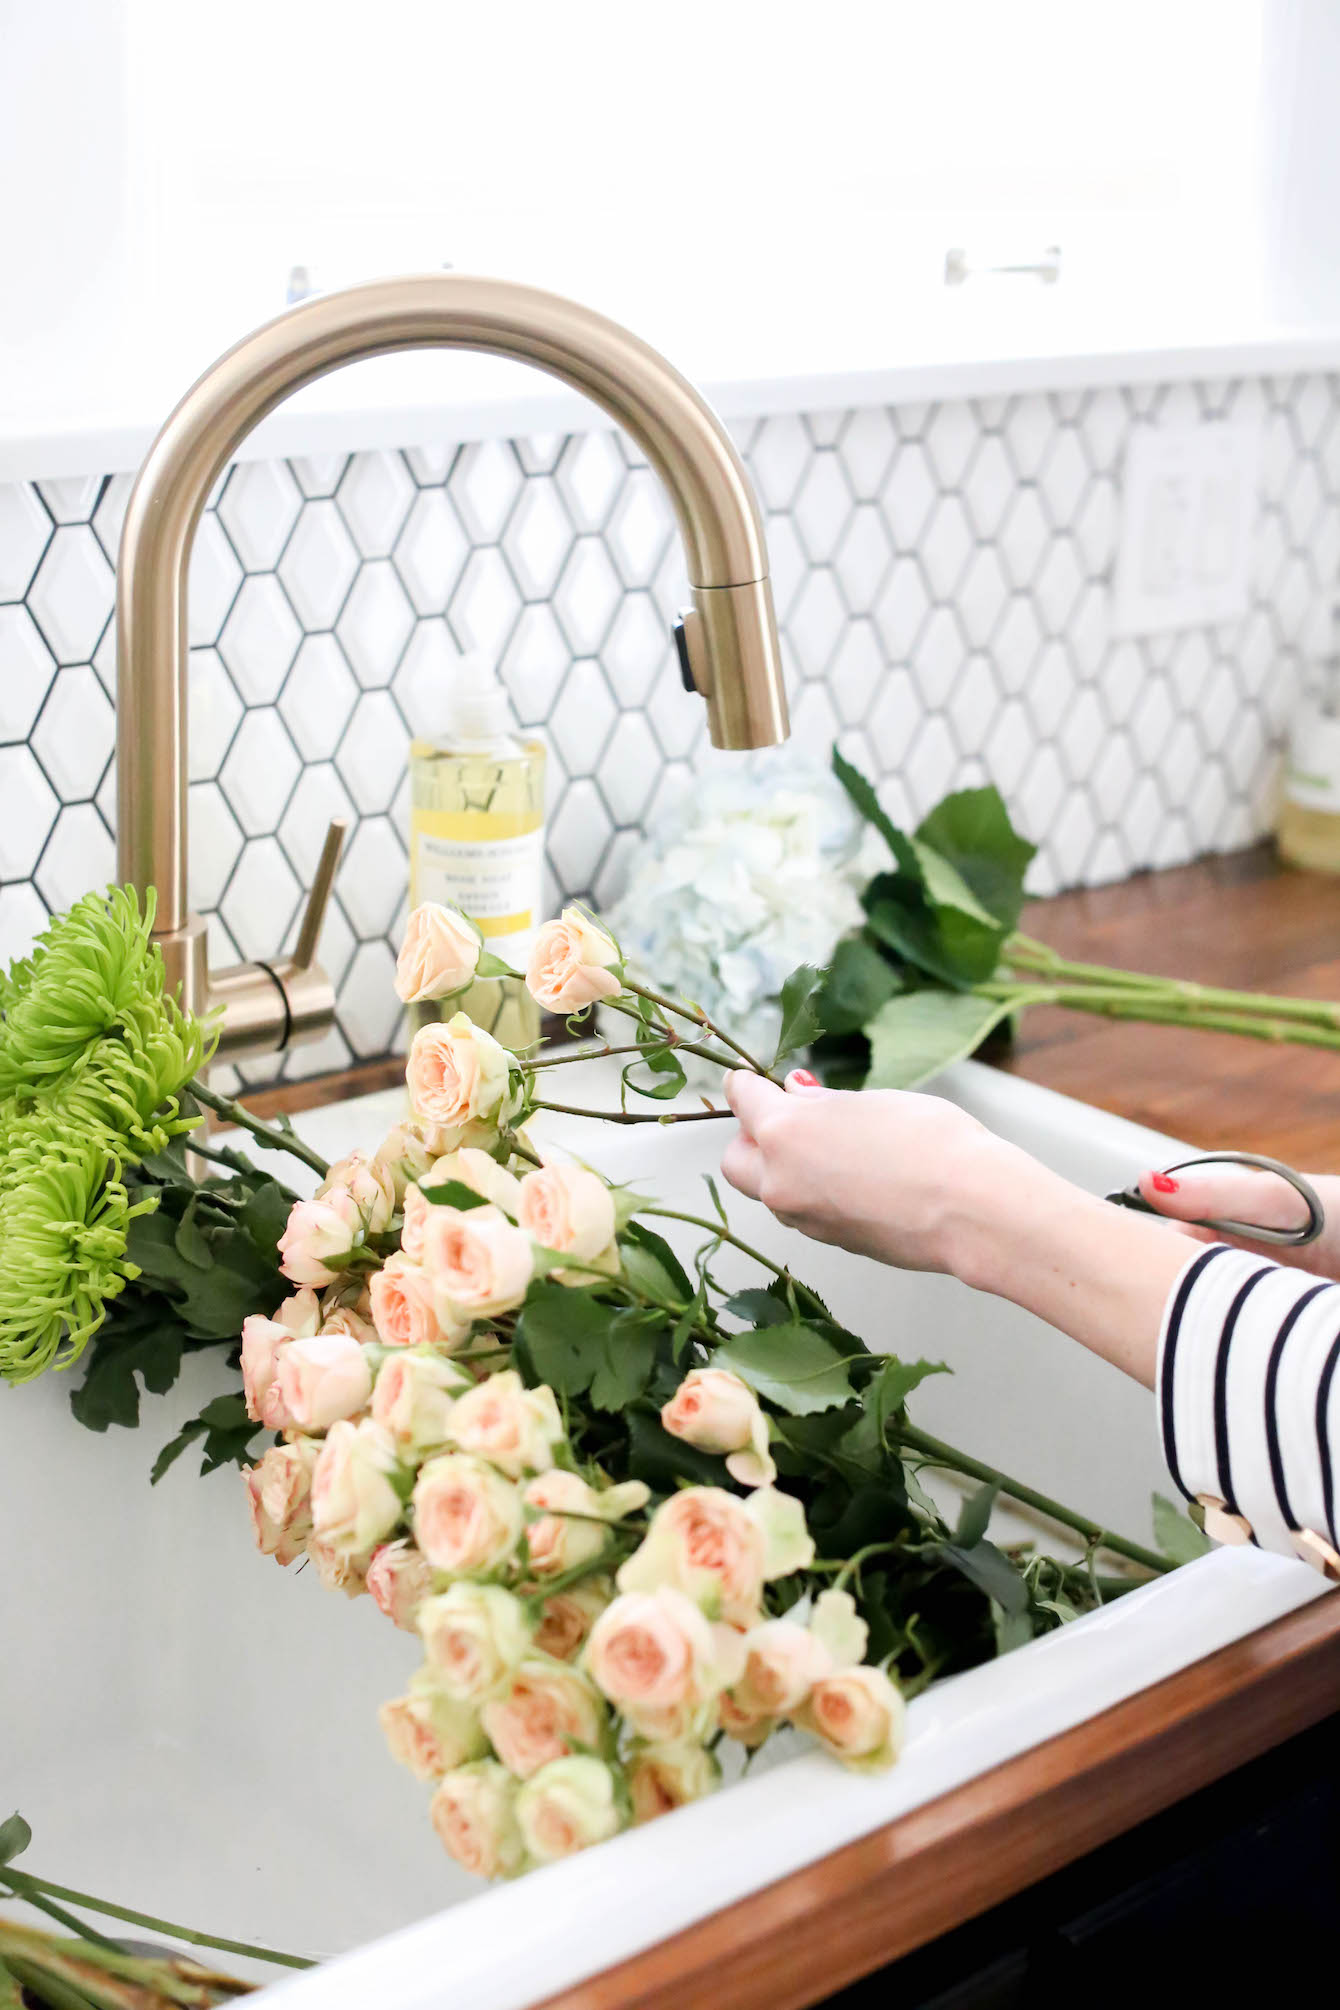
 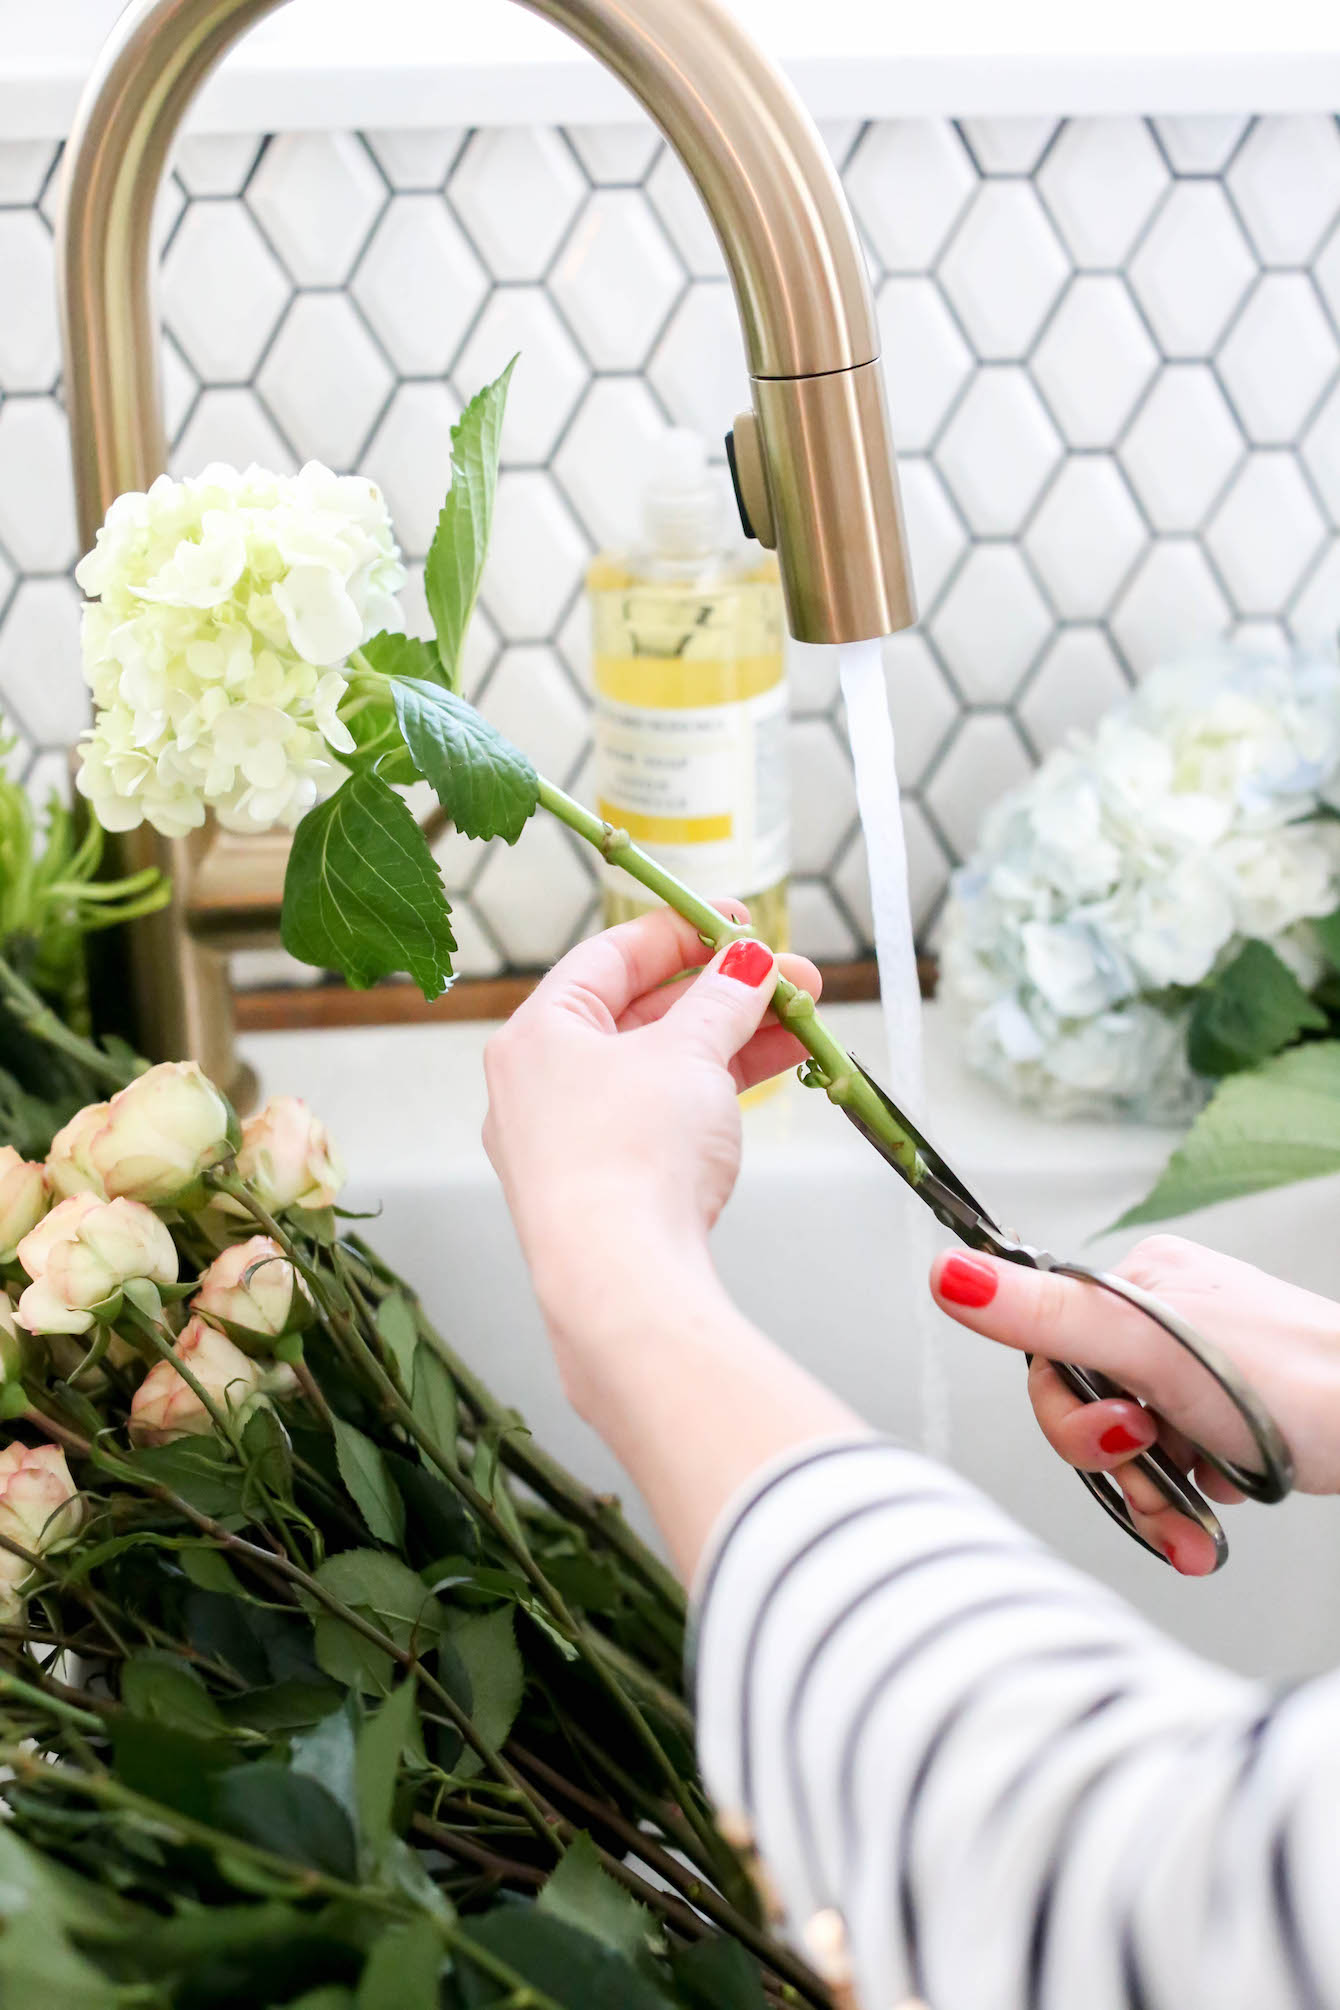 Step 4: Next, choose some of the larger flowers you’ve purchased from the grocery store, like hydrangeas, lilies, etc. If you use hydrangeas like we did, make sure you’re cutting the stems in water {see above} since it only takes 7 seconds for them to start becoming dehydrated.
Make sure that the flowers are just about 3-4 inches above the top of your vase – but be generous with length since it’s easier to cut them down at the end! If you’re using hydrangeas make sure to cut up an inch from the bottom of the stem so it’s easier for the hydrangeas to drink water and last longer.  Step 5: Add your Hypericum berries next, placing them in every other quadrant of the vase. Similar to the greenery, make sure to pull off the leaves that are submerged under water to avoid the leaves from rotting. These berries should be around the same height as your other flowers, so keep that in mind as you’re cutting them shorter on a diagonal.
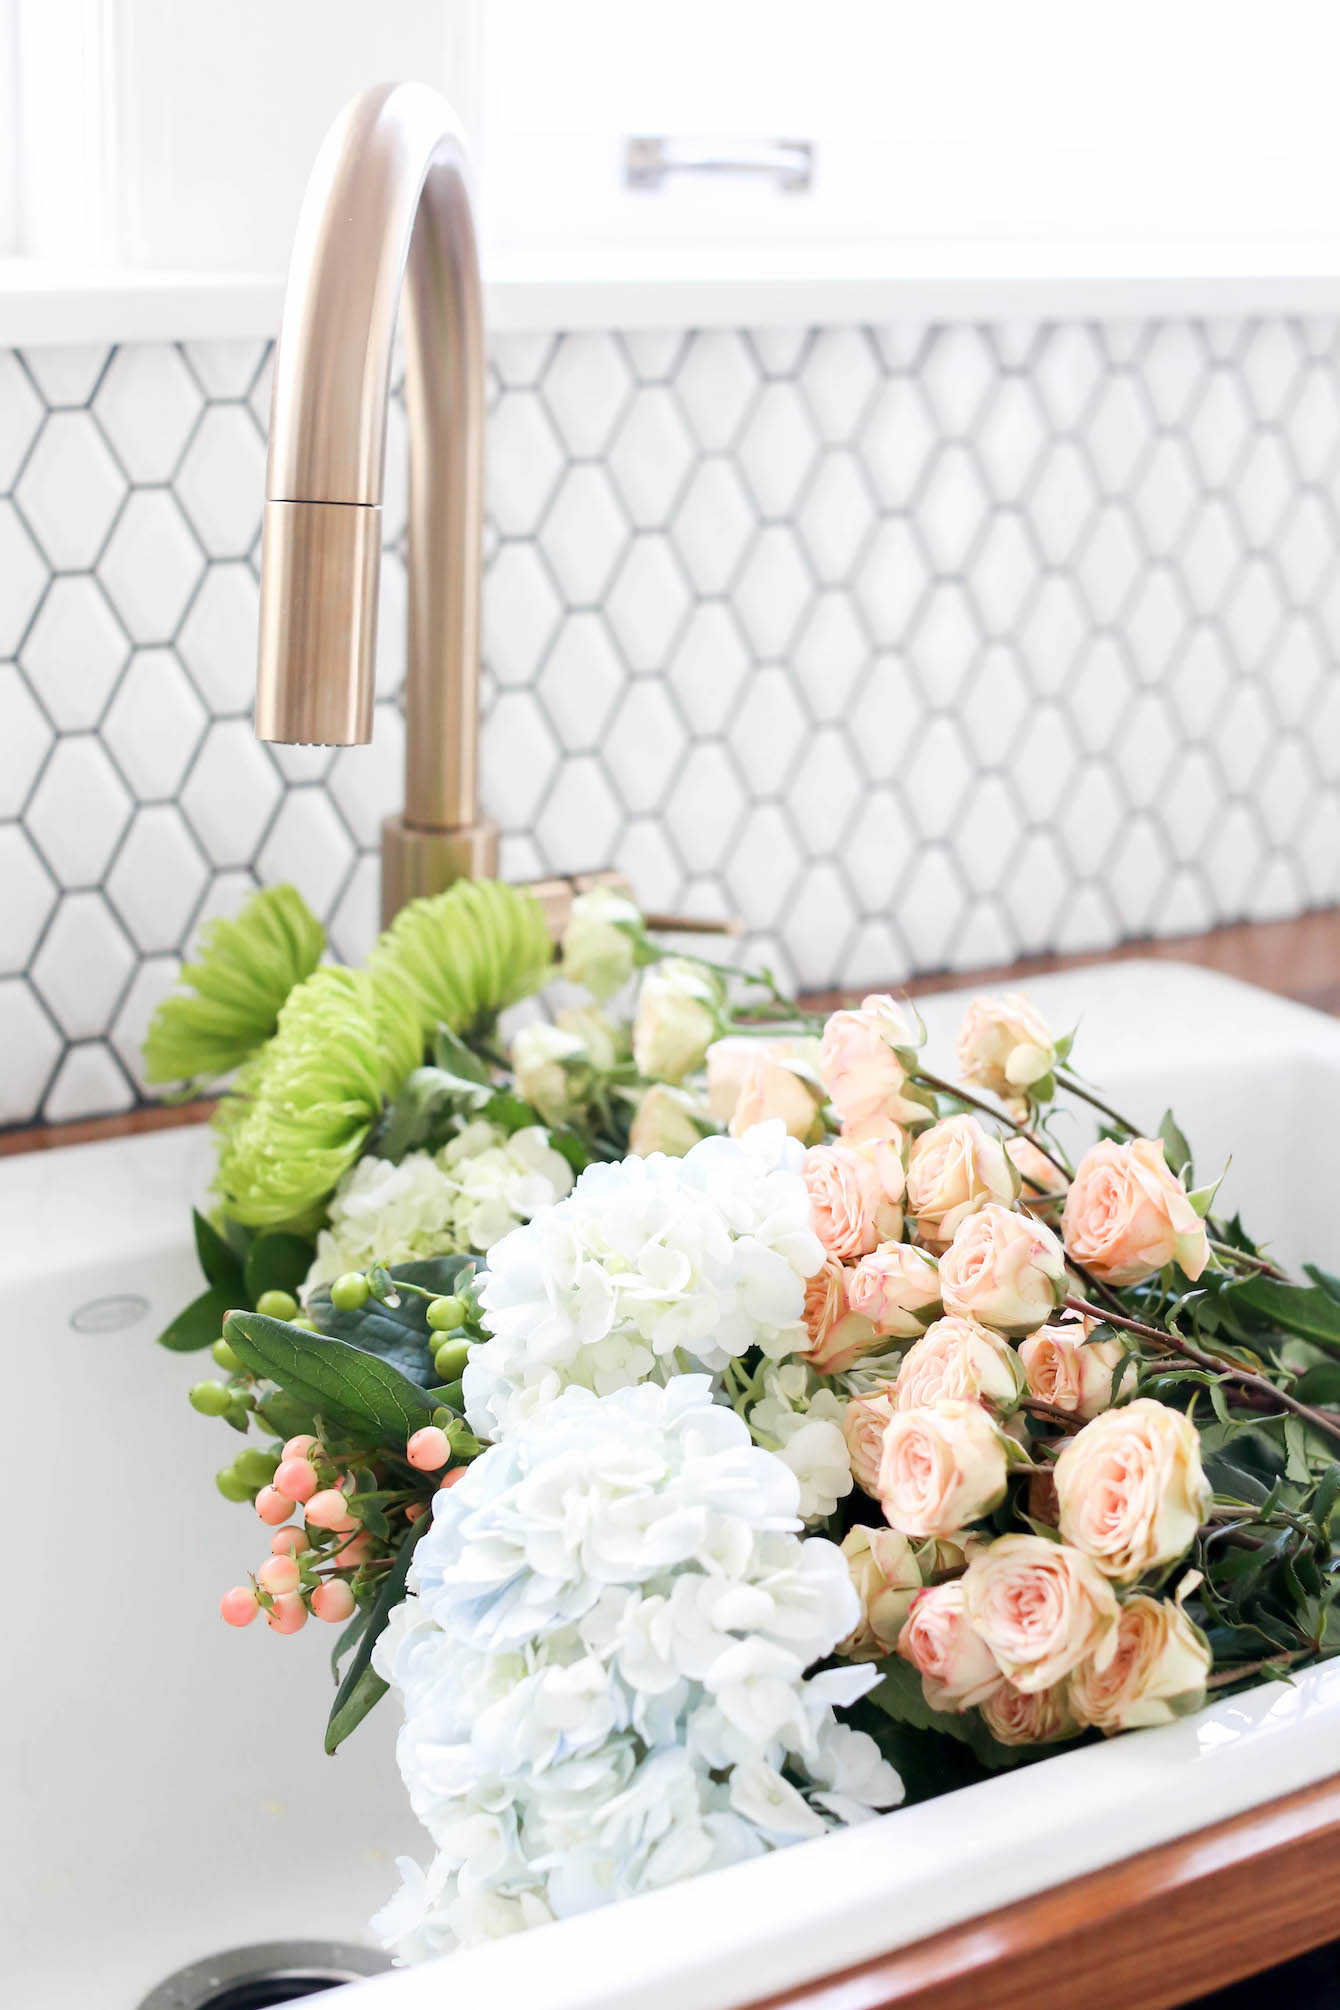
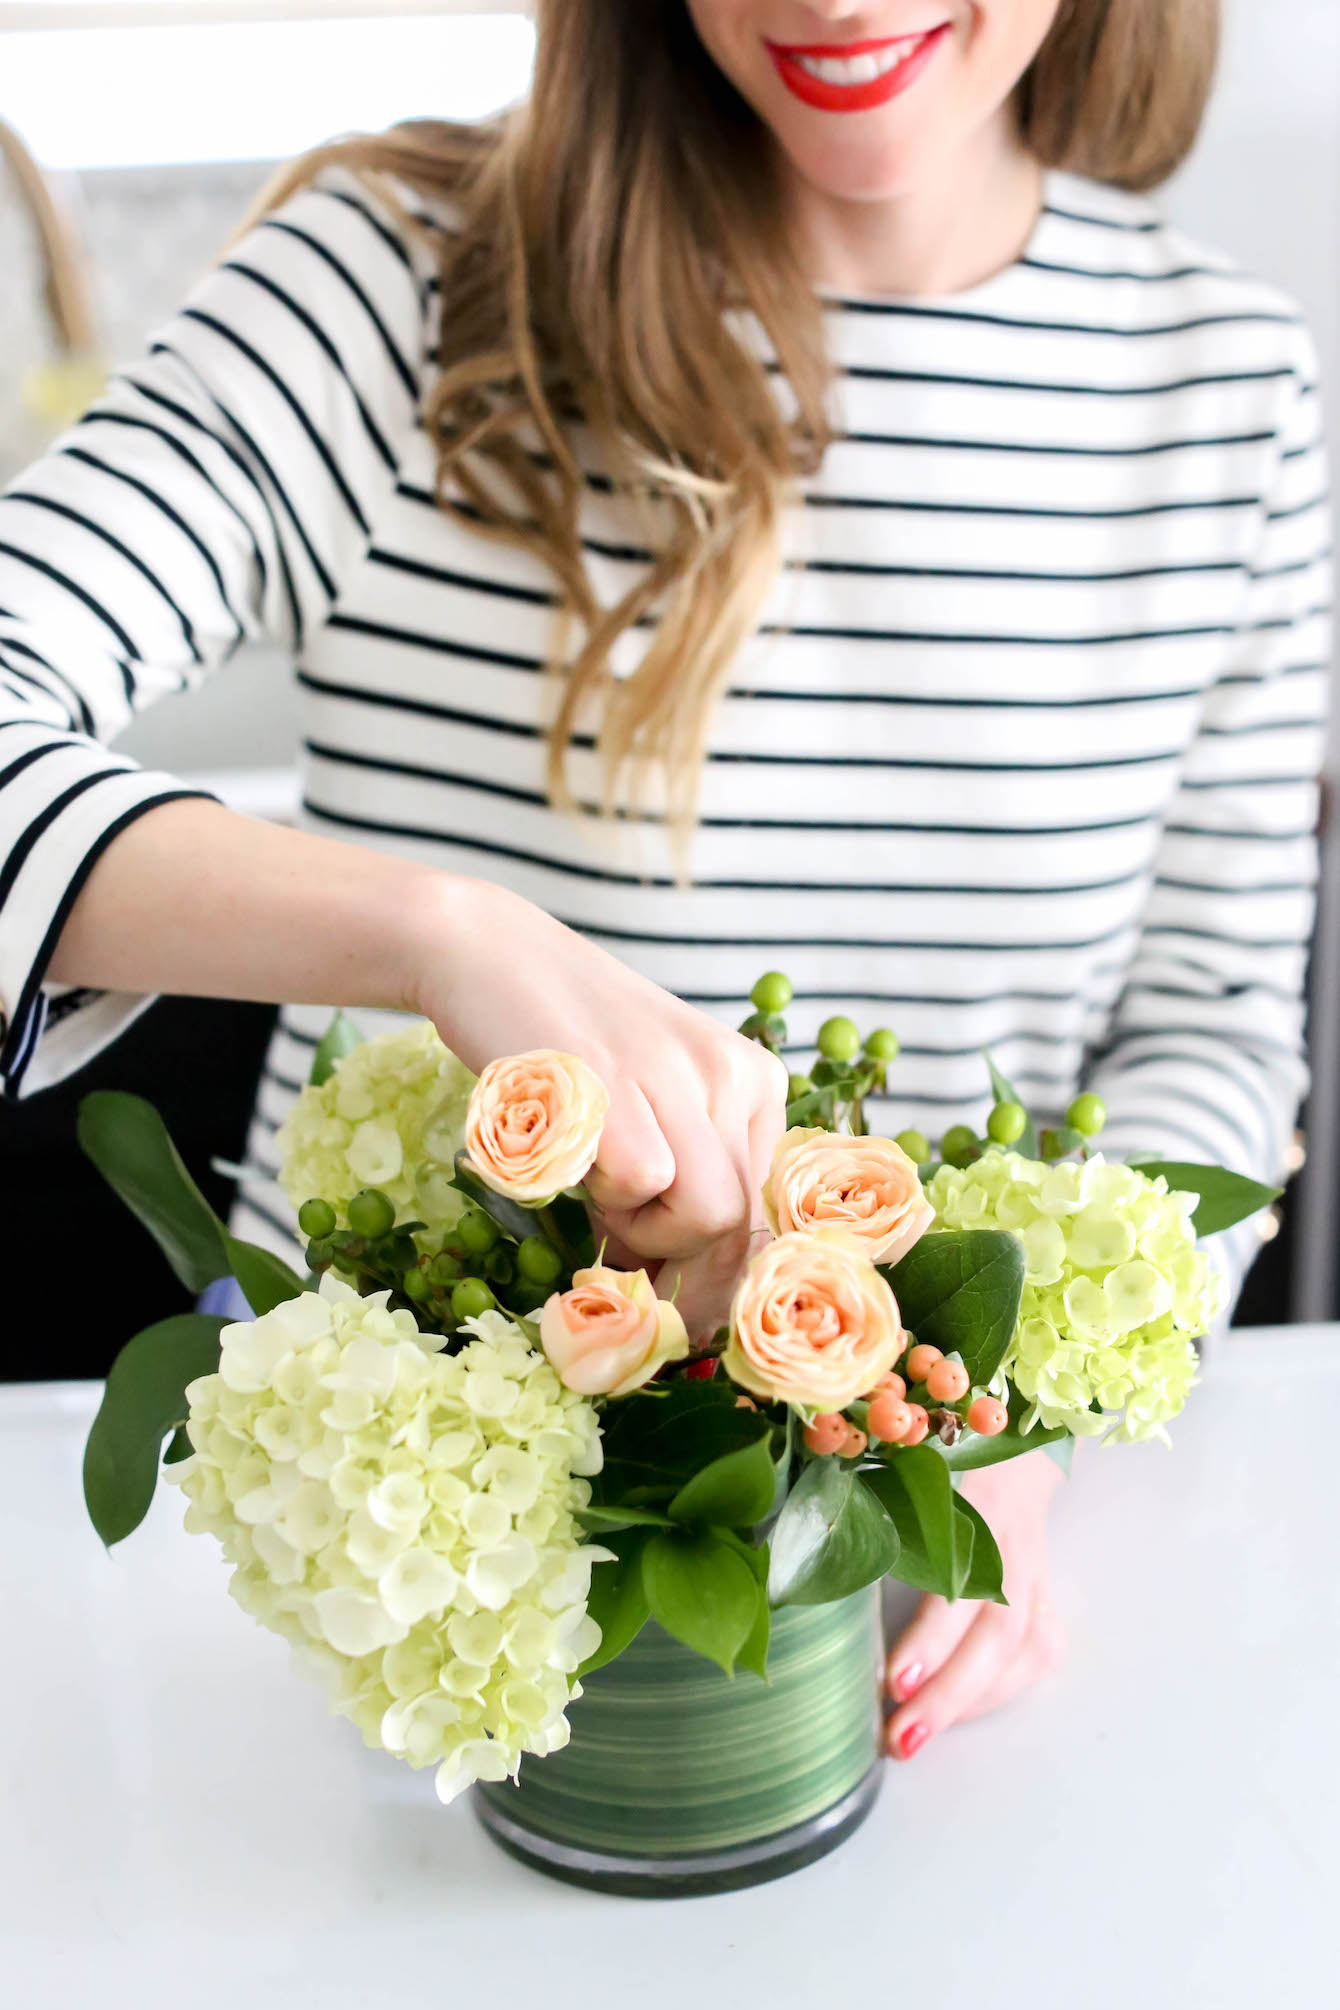 Step 6: I’m a big fan of spray roses since they’re so pretty and affordable {yay!}, so I always like to pick up a bouquet to add to my flower arrangements. For roses, make sure to cut them diagonally so it’s easier for them to absorb water and use them to fill in some of the spaces between your other flowers since they’re always good to have in excess!
 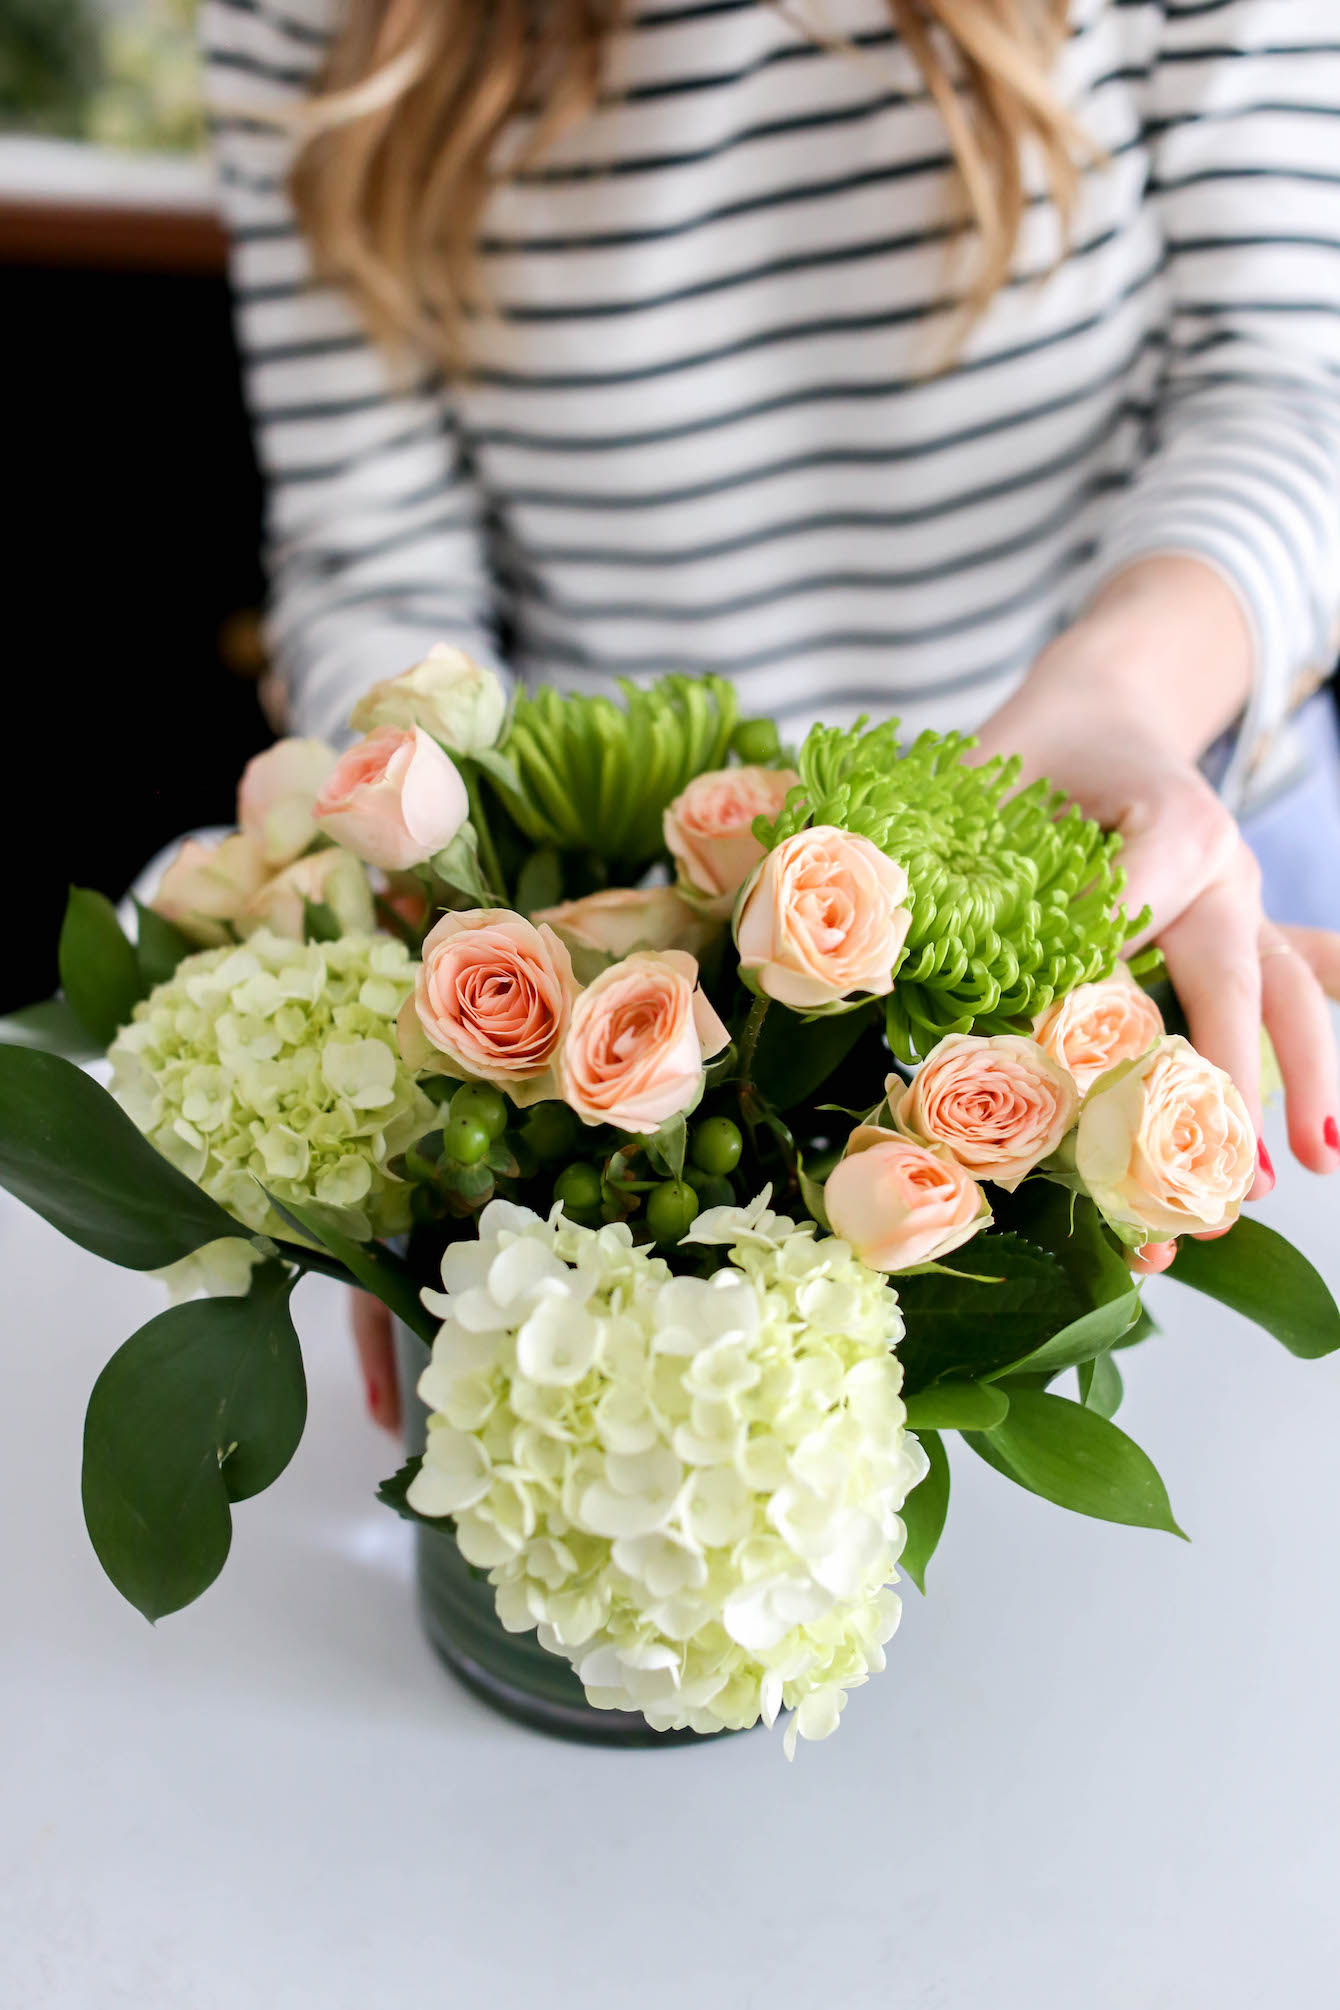 Step 7: Add the rest of your flowers to your vase, cutting the stems on a diagonal angle and filling in the rest of the gaps. Since I love the combo of green and pink, we added some larger {and funky} green carnations as our final accent flower.
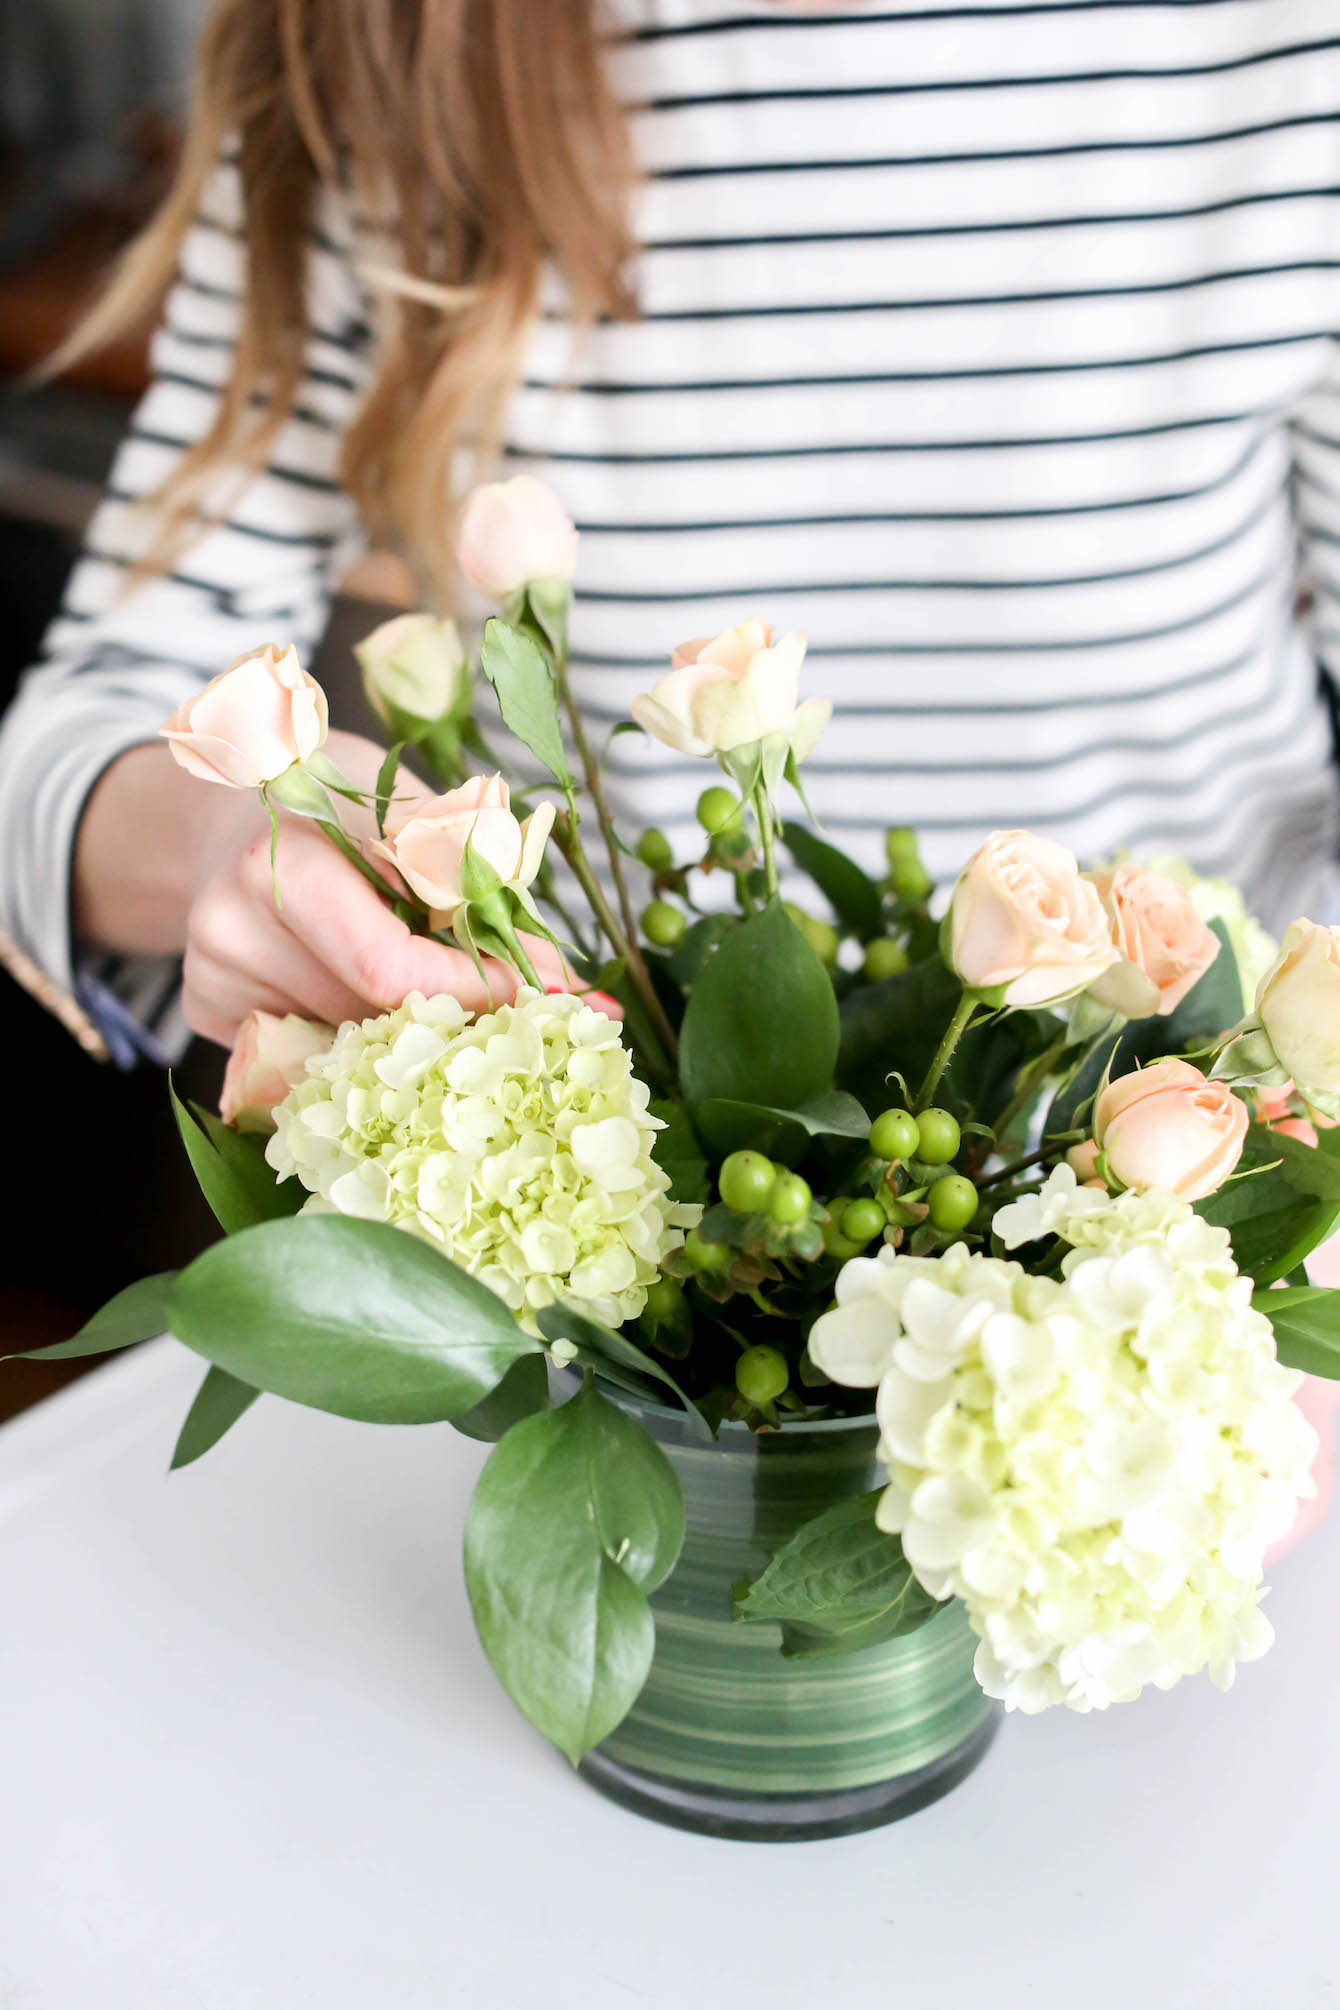
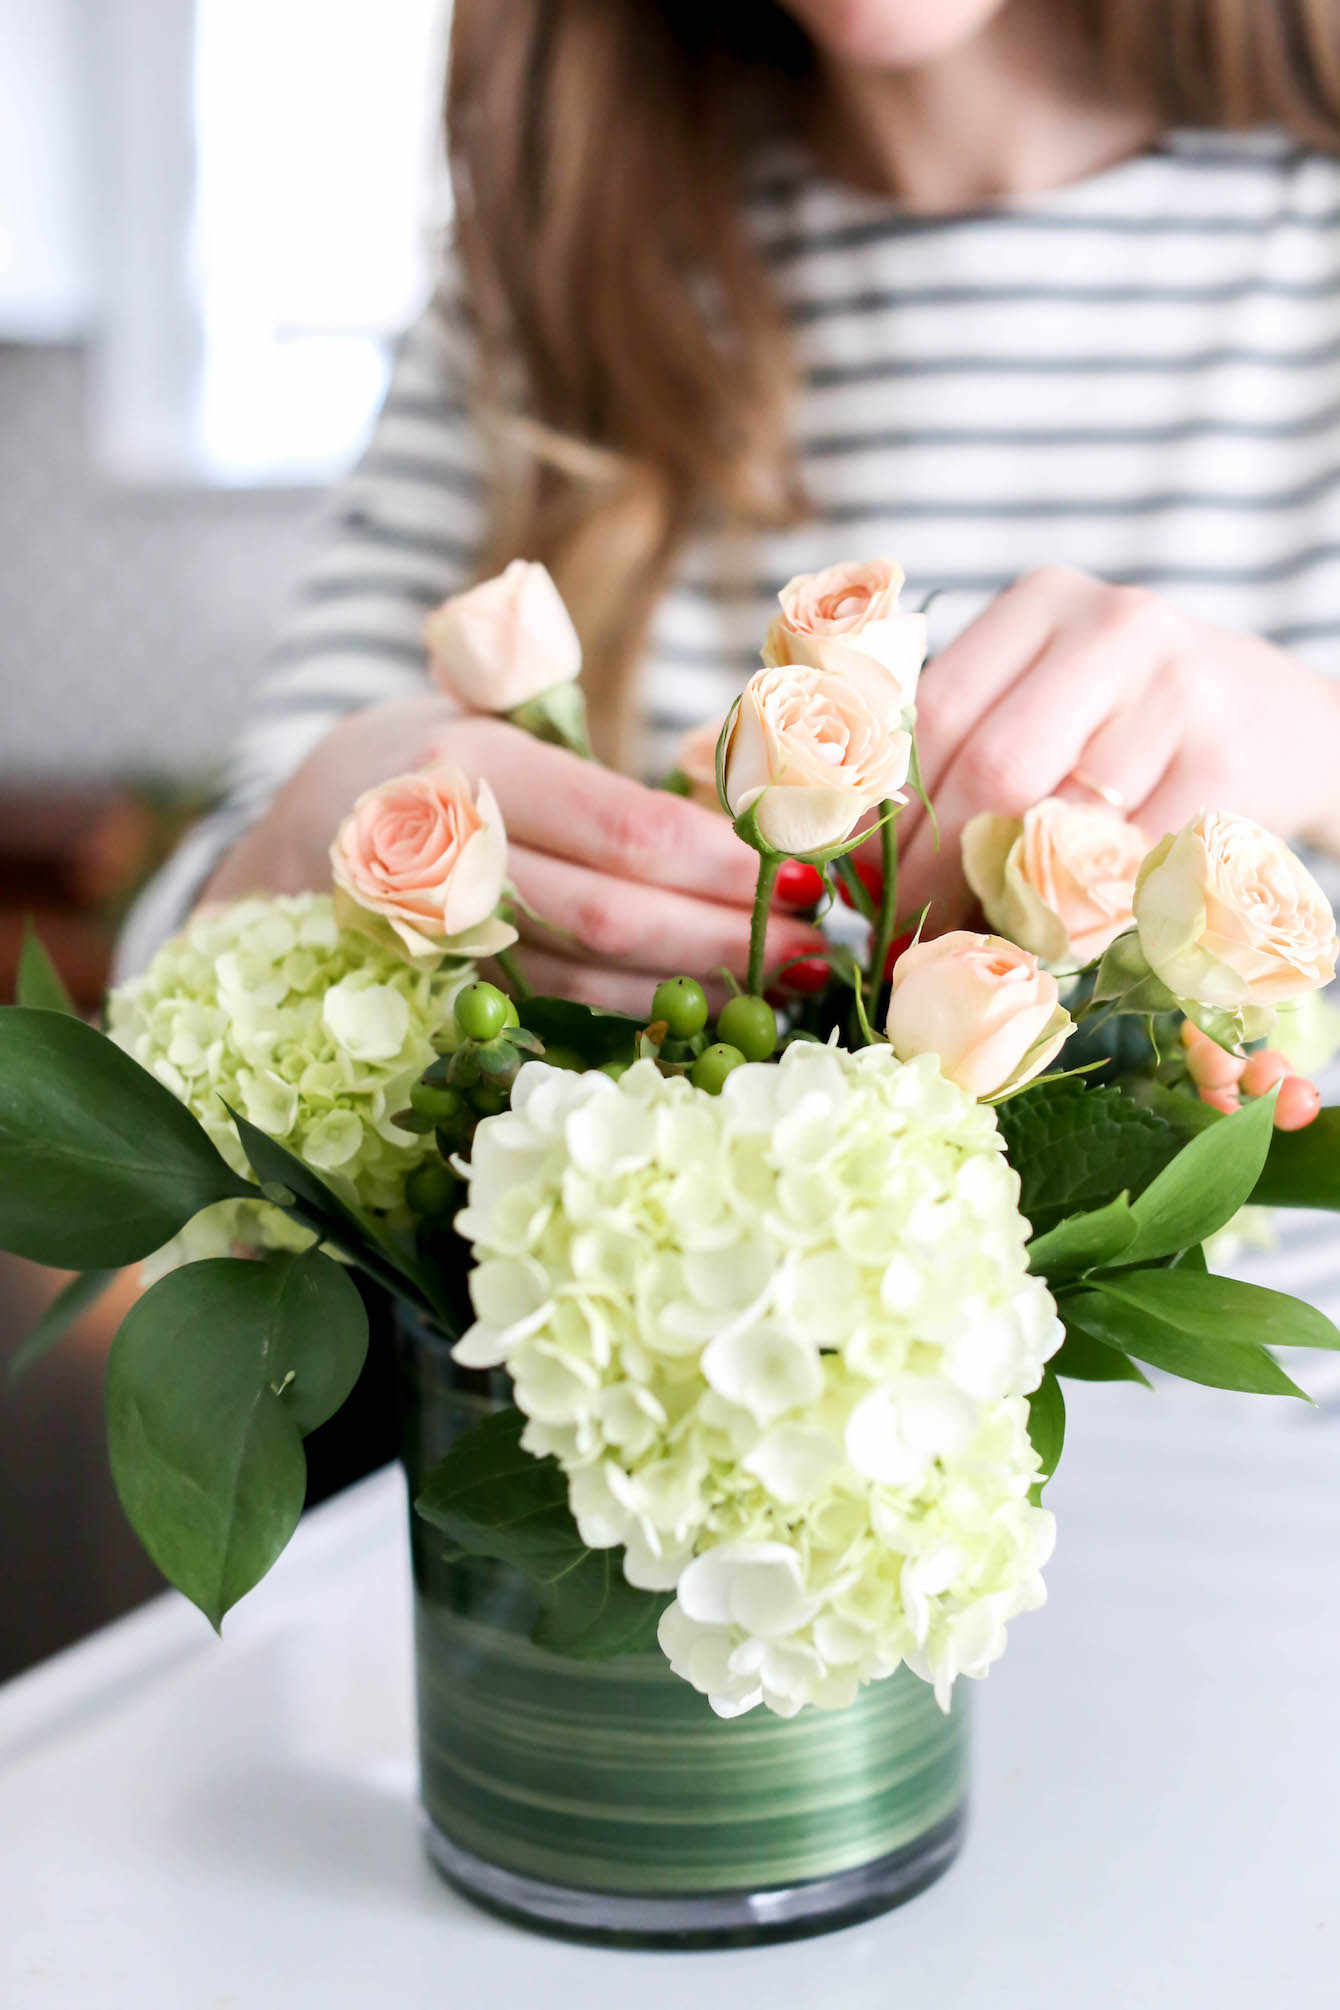
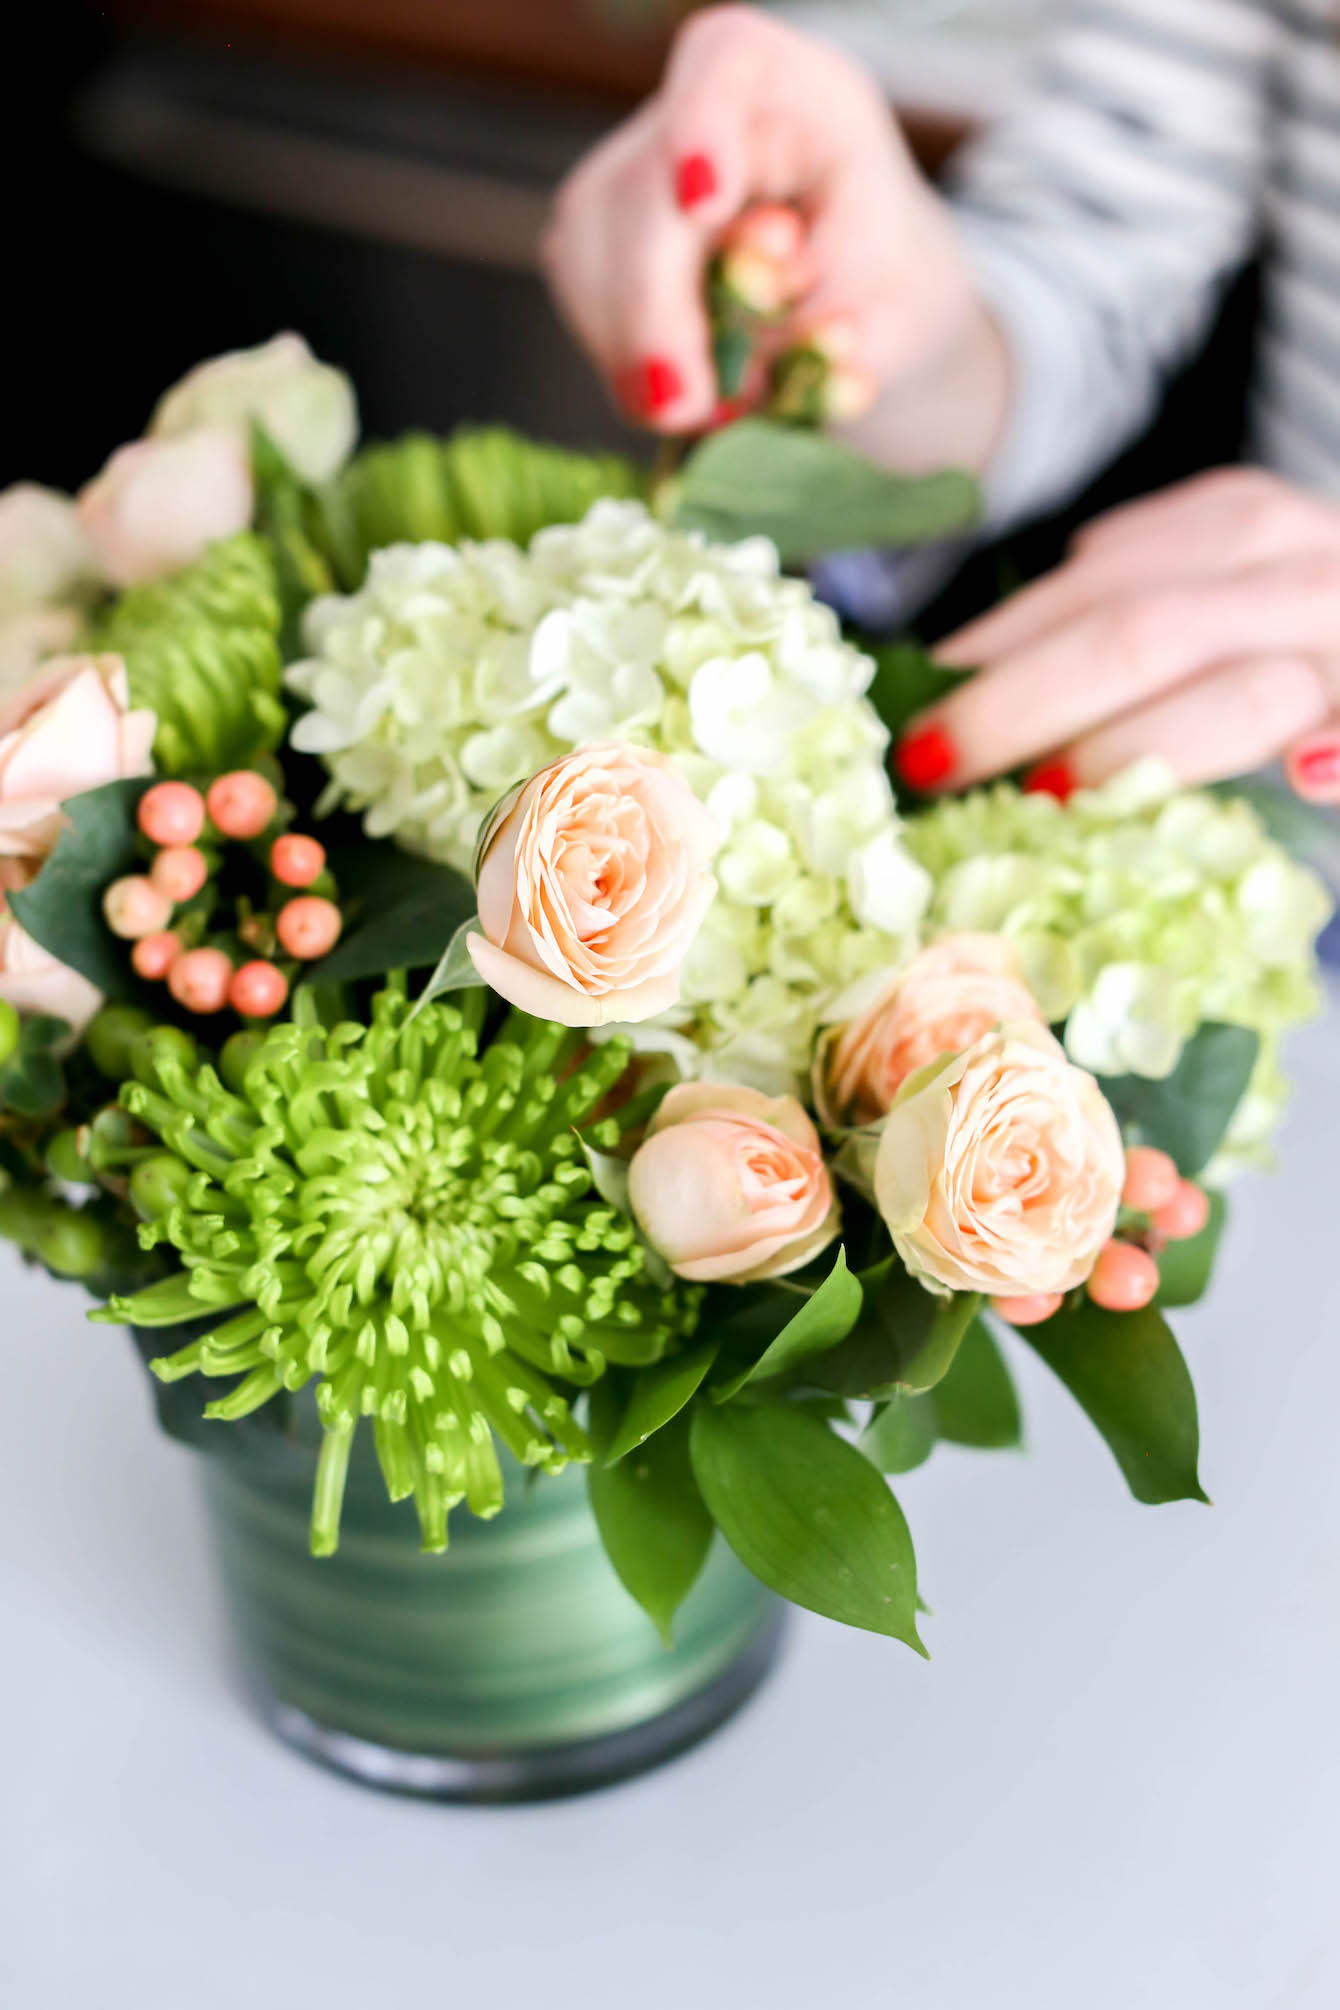 Step 8: Finesse your flowers to make sure they all look nice together! I usually look at it all to make sure there aren’t sections that are lopsided and that the flowers are all a comparable length. I’ll usually spend about 3-5 minutes pulling out flowers and cutting the stems down until it looks just right – it’s worth the extra time spent to have a beautiful bouquet!
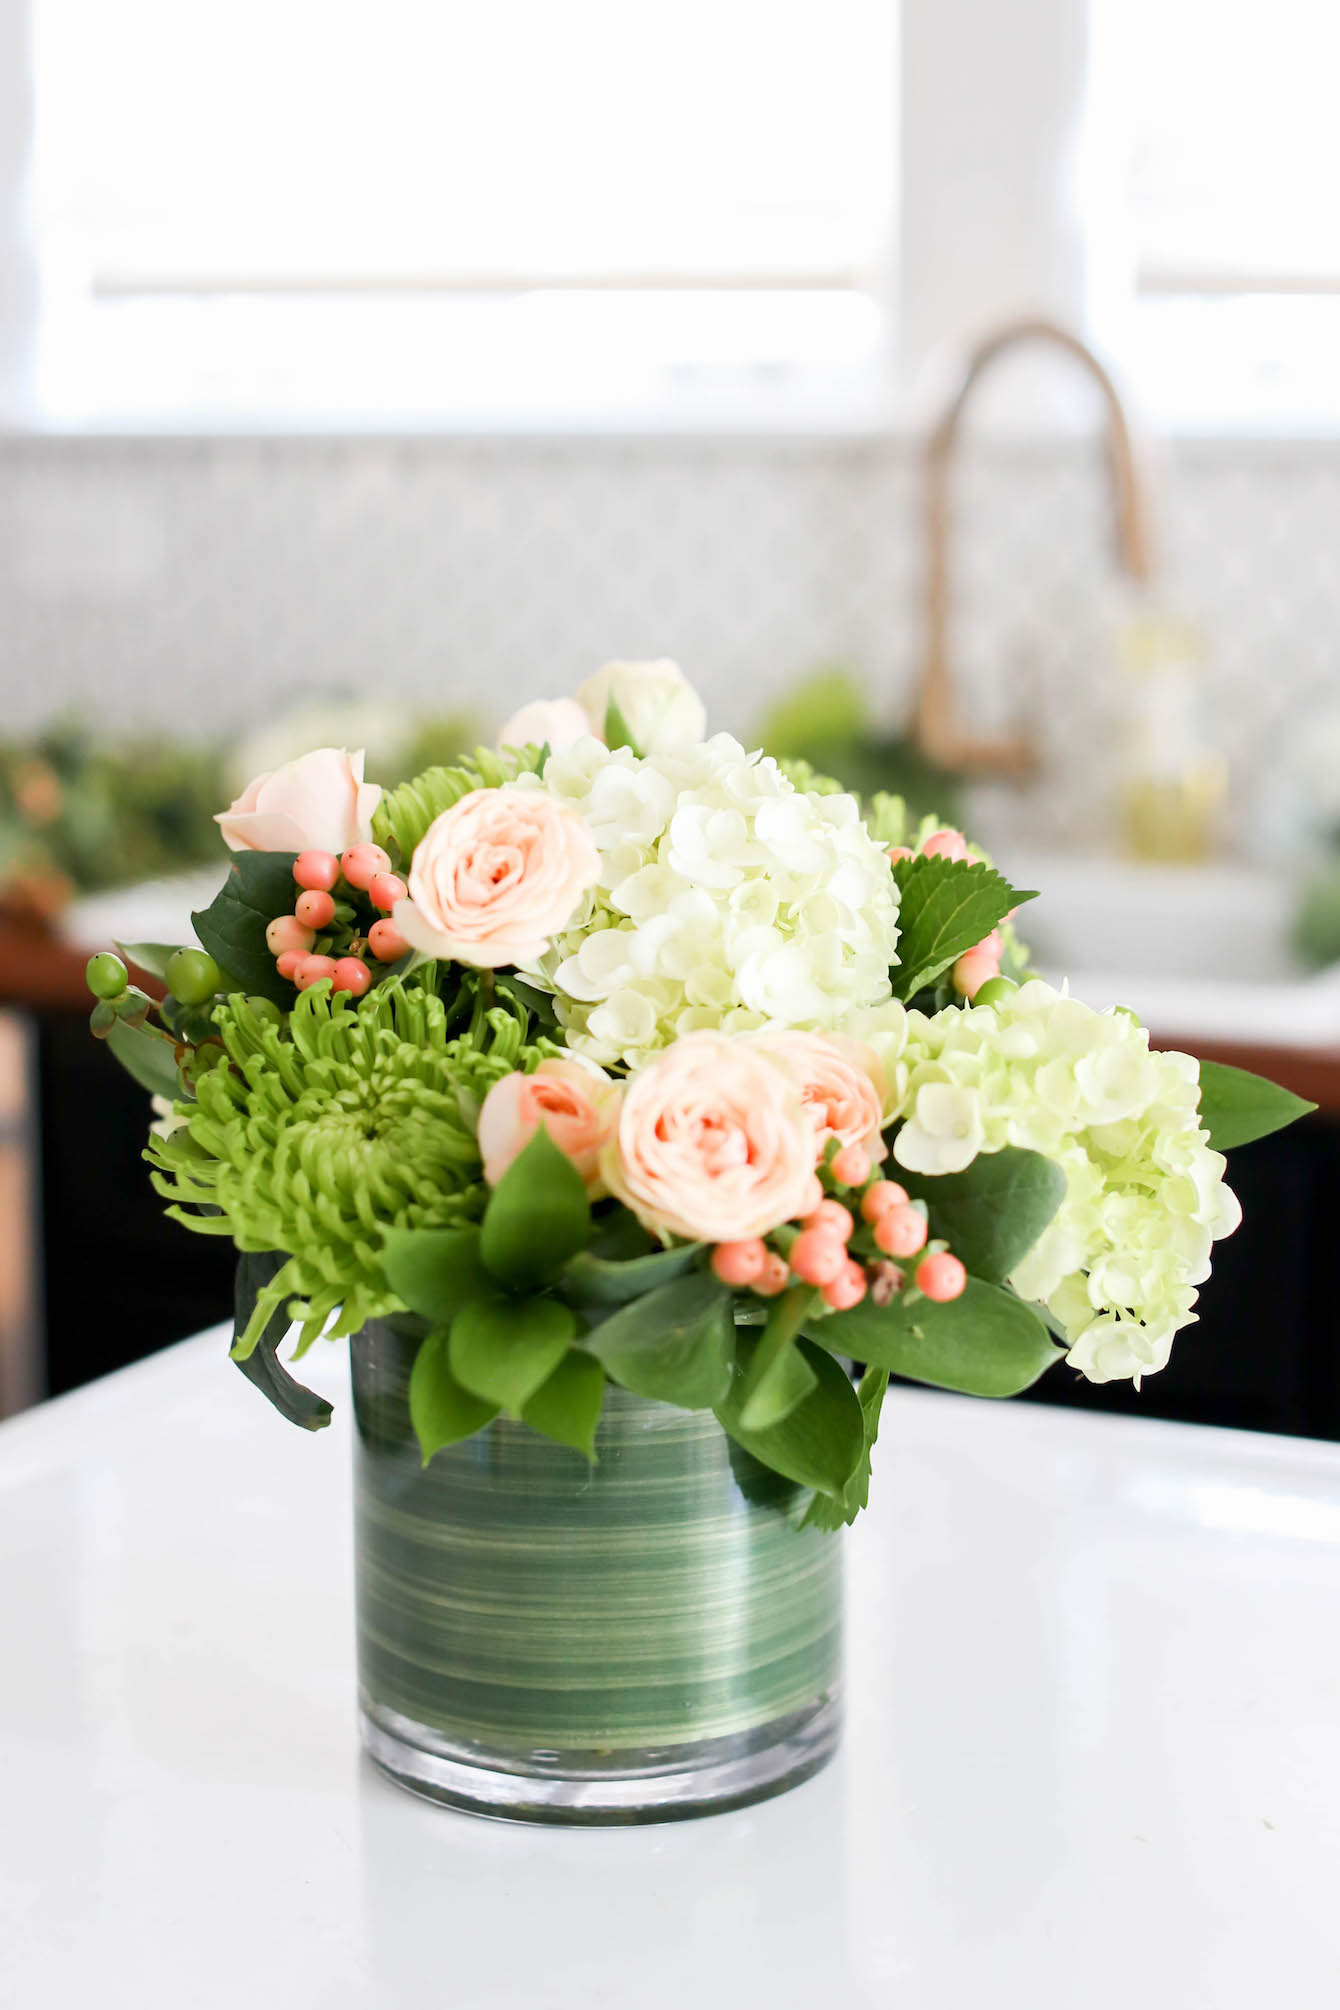
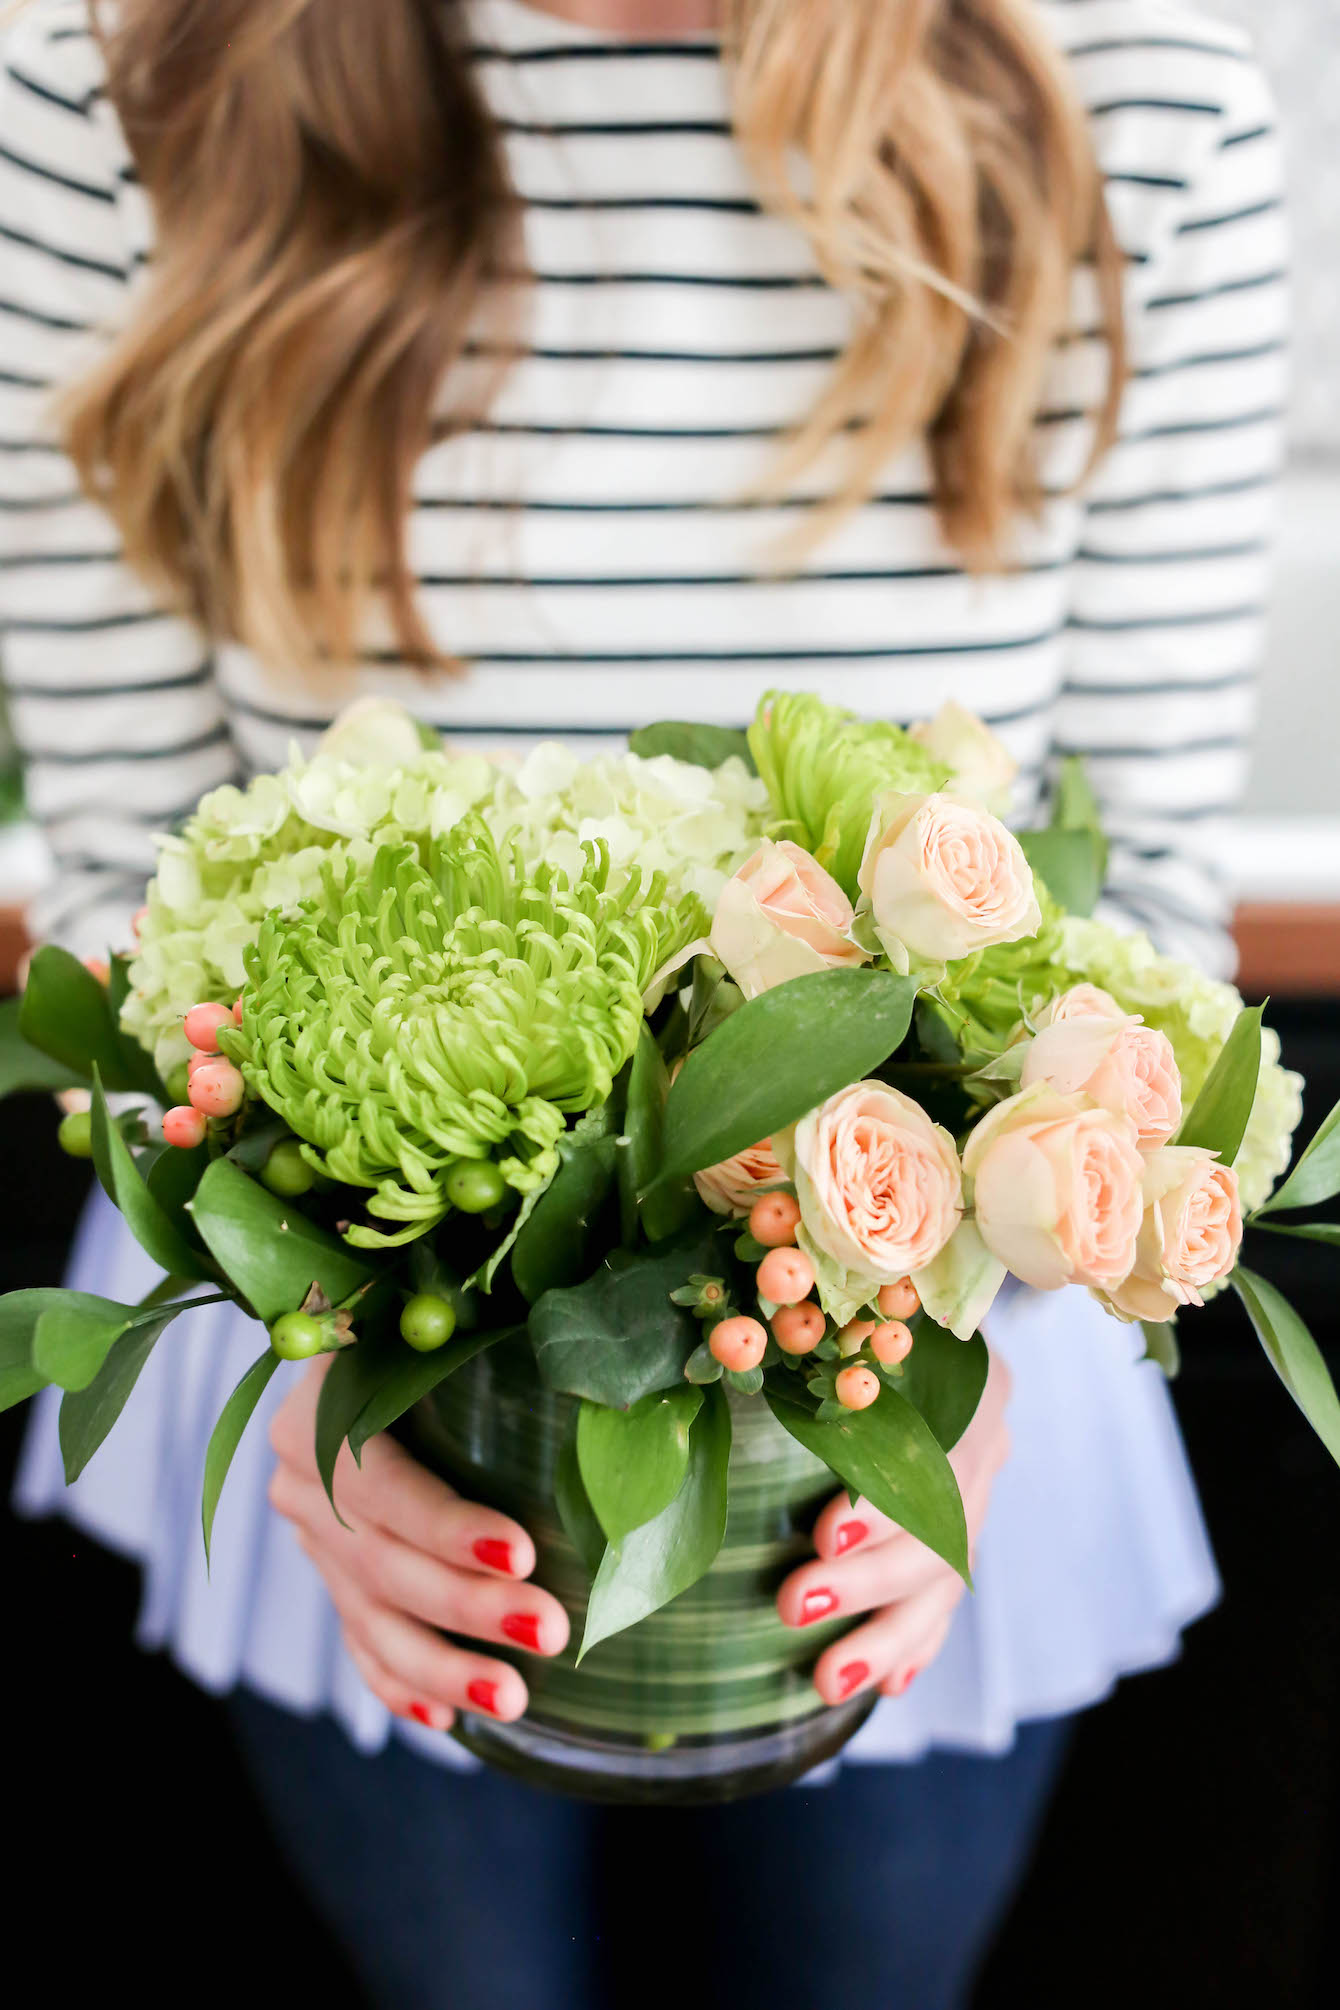 Step 9: Admire your beautiful flowers! Not too bad for a novice florist, right? Between knowing the trick of adding a leaf print ribbon, adding structure with oasis tape and figuring out how to keep your flowers cohesive and long lasting! Even better, rather than having to pay $40+ for a pretty bouquet, you can manage to make something pretty for less than $20, which will impress your friends next time you host a gathering. These babies lasted well over a week, and kept my apartment smelling delicious all week long.
  Have you been successful in making your own bouquets? I’d love to know your secrets, tips and tricks too! xx


Aren’t fresh flowers the best?! What great tips and such a gorgeous arrangement!
Amy Ann
Straight A Style
Those look awesome!! I’ll be making a trip to Trader Joe’s this weekend to try this out. Where did you buy the floral leaf ribbon? I have zero green thumb, but I really want to add some plants and flowers to our house.
Caitlin | http://sunnystyleblog.com/
And you two said you didn’t know how to make a bouquet? Look at that, it’s beautiful and these photos are the cutest! Thank you both again for coming, always love seeing you ladies:)
These tips, YES! Off to the grocery store to try to make my own. Loved this post!
I love this tutorial! I especially love the idea of using a leaf inside the vase to sort of hide the water and stems. These flowers are so pretty and I love them together in the arrangement! Gorgeous! Thanks for sharing your newfound knowledge!